How to Make Pickles with Fire Cider
Growing up on a farm my memories show the deep reverence for food cycles. Not just consumption of food but the reverence for the entire process from honoring the land in which it is grown, to planting the seeds with the moon cycle, nurturing the crop, and bringing together community.
I remember how we would come together on the farm as a family to harvest, process, and preserve the produce we had grown on the land. It was hard work, and at times I didn’t understand how important this right of passage was.
What was originally my nightmare of harvesting in the hot humid summer has now become my most fond memory. Many of us have spent our childhoods in the kitchen on the apron tails of our grandmothers, and by bringing back these old ways, we honor them. Canning is one of the ways that I see a resurgence of cherishing those traditions.

When you know how preserve your food, you can make the most amazing pickles and jams with many different fruits and vegetables.
Canning, Preserving, and Pickling Traditions
The history of food preservation is an interesting journey of trial and error. Every one of our ancestors had to perfect this art in order to survive. Some of the oldest forms of preservation utilized the sun and air to dry and cure meats for consumption. These techniques date back to ancient Egypt.
Growing up in the south in a family of farmers that experienced the great depression and extreme weather, preservation was an important part of my ancestors’ survival during long winters. There are still signs of food preservation on my family land today. There was a spring house, a tiny shack that was built over a cold freshwater creek, that housed food that needed to stay cold. My grandparents had a root cellar under their house where they grew potatoes. We have converted the old meat curing house to storage space, but today it is still called the “meat house”.
One of my favorite things that my grandmother would preserve is pickles. To this day I am a pickle snob, and I make pickles when I miss her! I am excited about sharing this new twist to an heirloom recipe with you!

The two types of canning are water bath canning and pressure canning.
The Two Types of Canning
There are two types of canning: water bath canning (which is the method we will be using for this recipe) and pressure canning, which is used more for meats, chili, and seafood.
Water bath canning is an easy way for beginners to approach canning. It uses boiling water for processing, which is perfect for higher-acid foods. The combination of temperature and amount of time in the water bath destroys issues that cause spoilage, and it also creates a vacuum seal.
This method is recommended for produce and recipes such as:
- Fruits, jams, and jellies
- Tomatoes and salsa
- Pickles and relishes
In order to learn more about canning, you can check out the Ball Mason Jar site’s beginner guide to canning.

Pickling is a wonderful way to preserve and flavor your food.
Getting Started with Pickling
When making pickles, first set your intentions. Why do you want to make pickles? What traditions and ancestors do you want to honor? Here is my Ancestors Love Prayer I say when making pickles:
With this food I prepare I honor the love and nourishment of the grandmothers before me.
With this harvest from the earth I honor you great Mother Earth for the gifts you give me.
Get Adventurous with Your Pickles
In the south we pickle everything — I mean, what better way to use up vegetables? Feel free to experiment and substitute available vegetables with this recipe. Think pickled okra for your bloody marys! Squash, green beans, or pickled onions, which are amazing hot dogs toppers!
You can also make it a fun activity with family and friends like my family did and increase the batch size to have more to share.

There are so many ways to get creative with making pickles — and adding fire cider is one delicious way!
Adding Fire Cider to Your Pickles
I love fire cider, but find it difficult to ingest by itself. That is how I created this recipe. Fire cider is such an amazing antiviral for the immune system and can add so much flavor to your sauteed greens or salad dressings. Prepare fire cider with Rosemary Gladstar here. I also love to add a handful of hibiscus to my fire cider recipe.
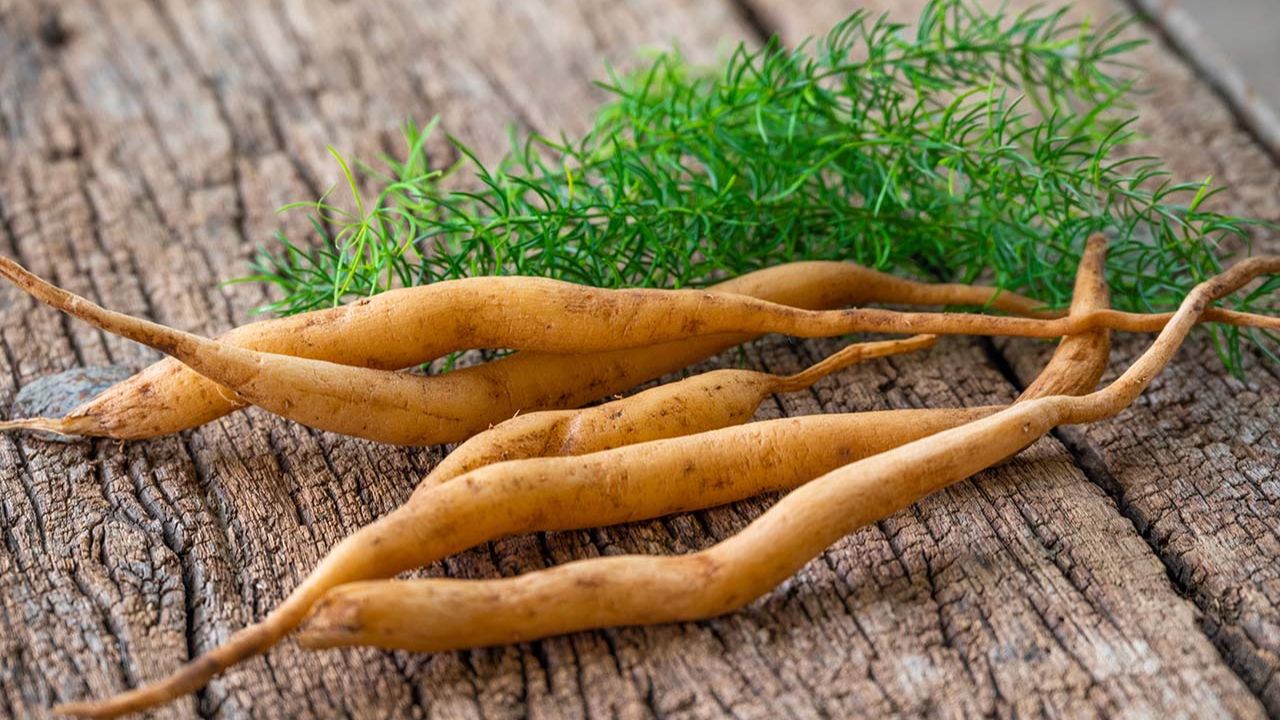
Finding the Right Pickle Produce
Finding the best cucumbers is one of the most important steps to me. When seeking the best cucumber I look for firm, fresh, non-bitter tasting ones. If I do not grow them myself I love to stroll the farmers markets touching many cucumbers to find the best of the batch. The more connected you are to your food sources the more love that shows in your food.

When making pickles, it’s important to connect to your food and choose the right produce.
How to Make Fire Cider Sweet Heat Pickles
This amazing heirloom recipe with a twist is a delicious condiment with a sweet heat that will wow your taste buds, and support digestive and immune health. Enjoy these homemade pickles!
Ingredients you’ll need…
- 4 cups thickly sliced pickling cucumbers (8 to 10 cucumbers)
- 1 cup peeled and sliced onion (about 1 large onion)
- 4–6 cloves of garlic, smashed
- 2 tablespoons pickling salt
- 1 cup pre-prepared fire cider or apple cider vinegar ( you can also use white vinegar or a mixture of the two)
- ¼ –¾ cup granulated sugar (if your fire cider is already sweetened you can omit sugar or use honey, adjust sweetness to taste)
- 4 tablespoons pickling spice
- ½ teaspoon red pepper flakes
- 2 sprigs of fresh dill
- Love as the final ingredient!
- Need herbs? Visit Mountain Rose Herbs.
Supplies:
- 2 pint size mason jars
- 1 large 21.5 quart pot
- Tongs or jar lifter
- Wooden chopstick
- Wash 2 pint-size jars or a large pot for 15 minutes to sanitize, or use your dishwasher to skip this step. Combine the sliced cucumbers, onion and pickling salt in a colander; set in a large bowl.
- Refrigerate for 3–4 hours (for large batches let it sit overnight) to remove excess liquid. Rinse the vegetables WELL and discard the liquid.
 |
 |
|---|
- Combine the fire cider and sugar in a large pot. Heat over medium heat until the sugar is dissolved. Add the pickling spice, red pepper flakes, and garlic. Increase the heat to high and bring the brine to a boil.
- Add the drained vegetables to the large pot and stir to combine. Cook for 5 minutes or until all the vegetables in the brine are fully heated through.
 |
 |
|---|
- Using tongs, fill the sterilized jars with the vegetables. Slowly pour the hot brine over the vegetables in each jar, leaving ½ inch headspace. Add one dill sprig to each jar.
- Gently tap the jars on a towel-lined countertop to help loosen any bubbles before using a wooden chopstick to dislodge any remaining bubbles. Check the headspace again and add more brine if necessary.
- Wipe the jar rims, apply the lids and rings.
 |
 |
|---|
- Add your jars to your empty large pot. Fill up your pot of water at least two inches above the jars and bring to a full boil — process jars in the hot water bath for 15–20 minutes.
- Carefully remove jars with tongs and place on the towel-lined counter. Wait to hear the pop of each jar as it cools to make sure they have been properly sealed. You can also press the tops of the jar after it cools and if it doesn’t move it is sealed. Return to the water bath for additional time if needed.
- Let these pickles cure on the counter for 48 hours to 14 days before eating. Remember to label the jars with the date. Share with your beloveds!
Yield: 2 pint size mason jars

Pickling spice is a popular pickling spice blend that often contains herbs like cinnamon, bay leaves, peppercorns, and more.
What is Pickling Spice?
Pickling spice contains so many healing culinary herbs. A common pickling spice blend could include allspice, bay leaves, cardamom, cinnamon, cloves, coriander, ginger, mustard seeds, and peppercorns.
The Benefits of Allspice
Allspice can help soothe many digestive ailments, such as indigestion, intestinal gas and abdominal pain. Allspice also has anti inflammatory, antiviral, and antioxidant properties.
The Benefits of Bay Leaves
Bay leaves aid in digestion and inflammation. They are a good source of vitamin A, vitamin B6, and vitamin C. Fun tip: burning bay leaves brings calmness and can be used with the new moon to manifest.

Cardamom and cinnamon make a wonderfully delicious addition to these pickles.
The Benefits of Cardamom
Cardamom is a tasty herb that lends a pungent sweetness to pickling spice. Cardamom can aid in digestion and can also improve circulation.
The Benefits of Cinnamon
Like cardamom, cinnamon lends a pungent sweetness to pickling spice blends. Cinnamon also promotes healthy digestion and can ease inflammation.
The Benefits of Cloves
This little treasure helps with toothaches, improves digestion, relieves gas, eases inflammation, and is full of antioxidants.

Coriander also makes a tasty addition to this pickle recipe.
The Benefits of Coriander
Coriander improves digestion, boosts metabolism, may help lower blood sugar, and is rich in immune boosting antioxidants.
The Benefits of Ginger
In addition to promoting healthy digestion and soothing nausea, ginger can also soothe cramps and support healthy immune function.
The Benefits of Mustard Seeds
Mustard seeds are rich in fiber as well as selenium, manganese, and magnesium, which in turn supports bone health. Mustard also stimulates and aids digestion.
The Benefits of Peppercorns
Peppercorns are a good source of manganese which helps with healthy bones. It all increases nutrient absorption and assists in boosting the immune system.
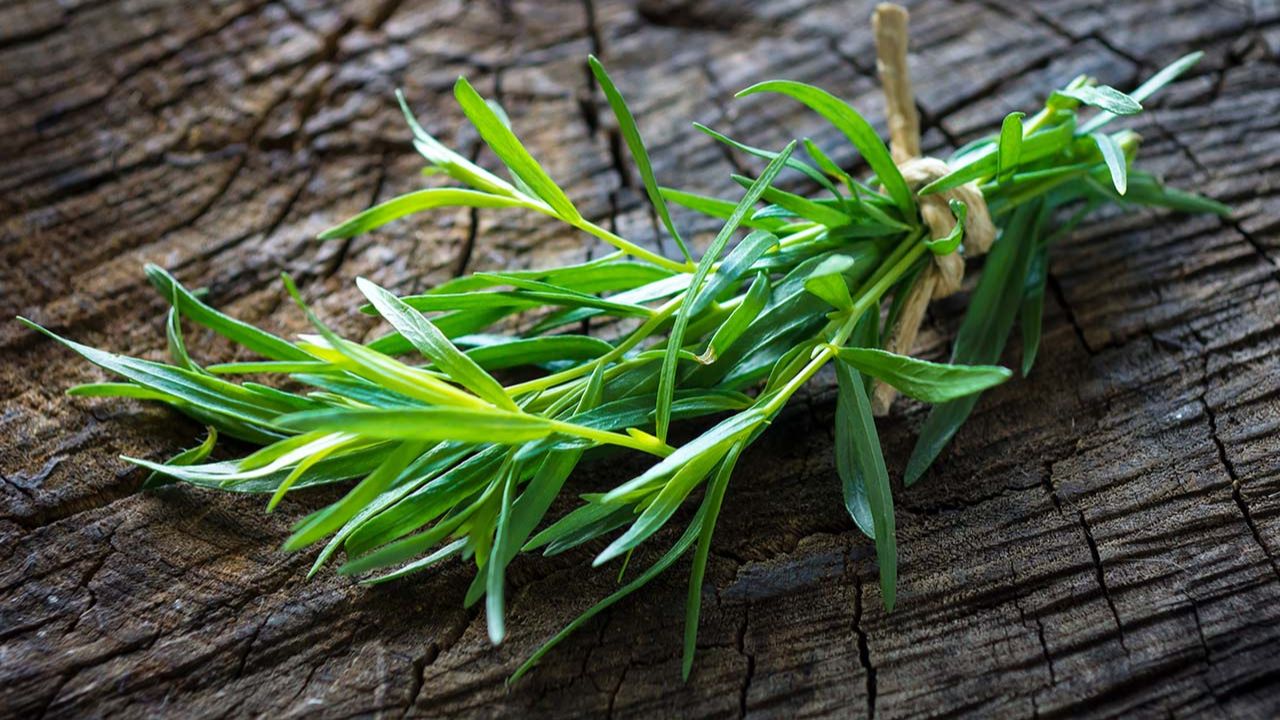
The Benefits of Dill
I also love adding dill to my pickles. Dill offers many healing gifts, including aiding digestion, eases mild respiratory issues, and boosts immunity.

After you eat your pickles, for a few weeks you can get creative with using the brine in your cooking too.
Here are some frequently asked questions about making homemade pickles…
Can You Reuse Pickle Brine?
I do keep the brine for salad dressings and quick pickled onions for a limited time (no more than 2 or 3 weeks) after the pickles are gone.
How Long Does it Take to Make Pickles?
With my method, it takes time to prepare the pickles, and then I let them cure on the counter for 48 hours to 14 days before eating them.
How Can I Learn More About Making Herbal Foods in My Kitchen?
If you want to learn more about food as medicine, you can check out LearningHerbs’ Food as Medicine class. Created by herbalist Todd Caldecott, Food as Medicine is a 10-part audio series that dispels many natural foods myths and delivers a simple, practical guide to healing with food.
You can find Food as Medicine on HerbMentor, LearningHerbs’ affordable online platform for herbal education. Try HerbMentor for just $1 here.


The Herbal Remedy Vault has all of our printable recipe cards...