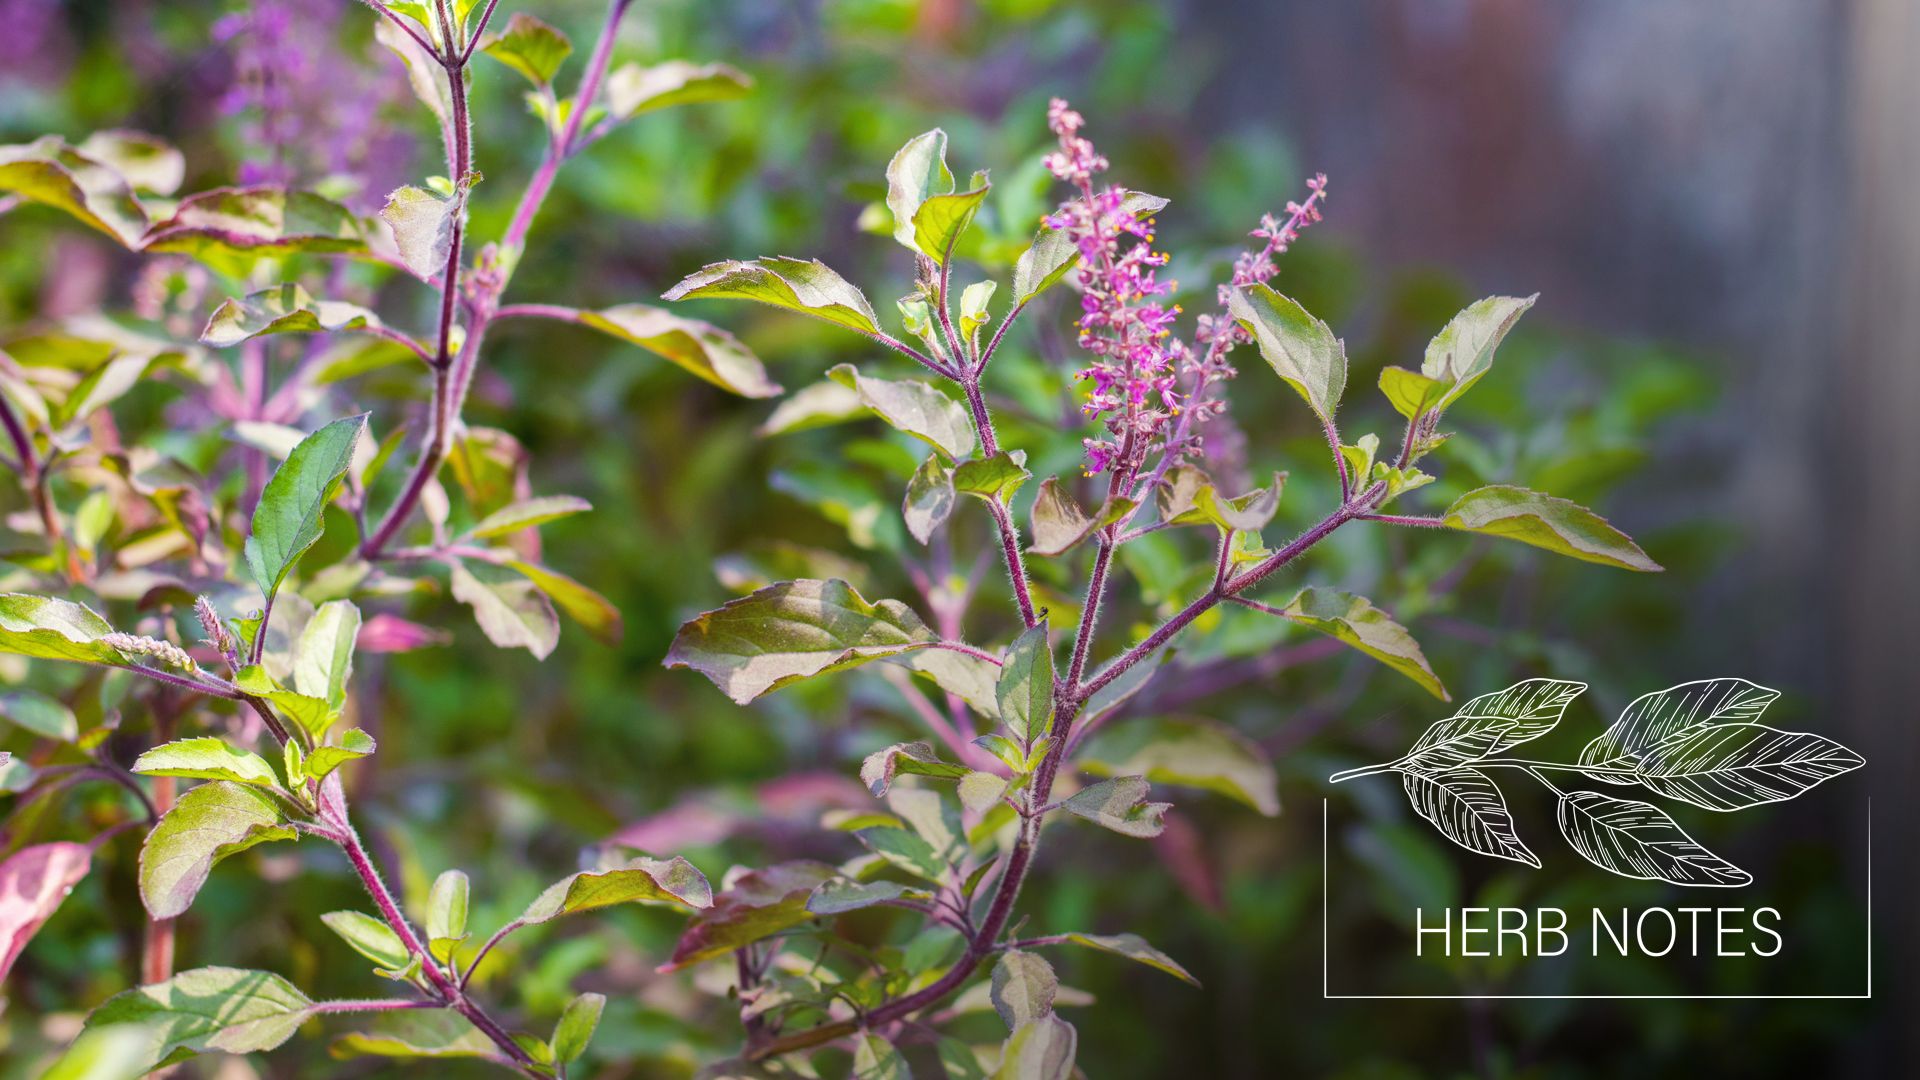
How to Make Pressed Flower Candles
As nature turns toward fall and familiar hints of gold begin to tint the air, I can’t help but nurture a desire to preserve as much of summer's beauty and abundance as possible. Sure, fall has its own gifts, but summers are short where I live, which makes their gifts extra special and rare.
Making pressed flower candles allows me to capture the fleeting colors and delicate shapes of the season, holding onto the memories of warm, sunny afternoons even as the days grow shorter. Crafting with these dry flowers is a gentle way to keep a bit of summer's magic close, ready to brighten a chilly autumn day.

Pressing Flowers: The Book Method
The first step for this craft is to dry the flowers and leaves for your candles. Here are some of my key tips for gathering your plant material:
- Choose colorful, thin-petaled blossoms: they dry quickly and are safer for attaching to candles
- Thicker flowers, leaves, and other plant material may not adhere as well and could pose a safety risk when burned
- Gather your plant material late in the morning, after the dew has evaporated, so the plants are dry but still fresh
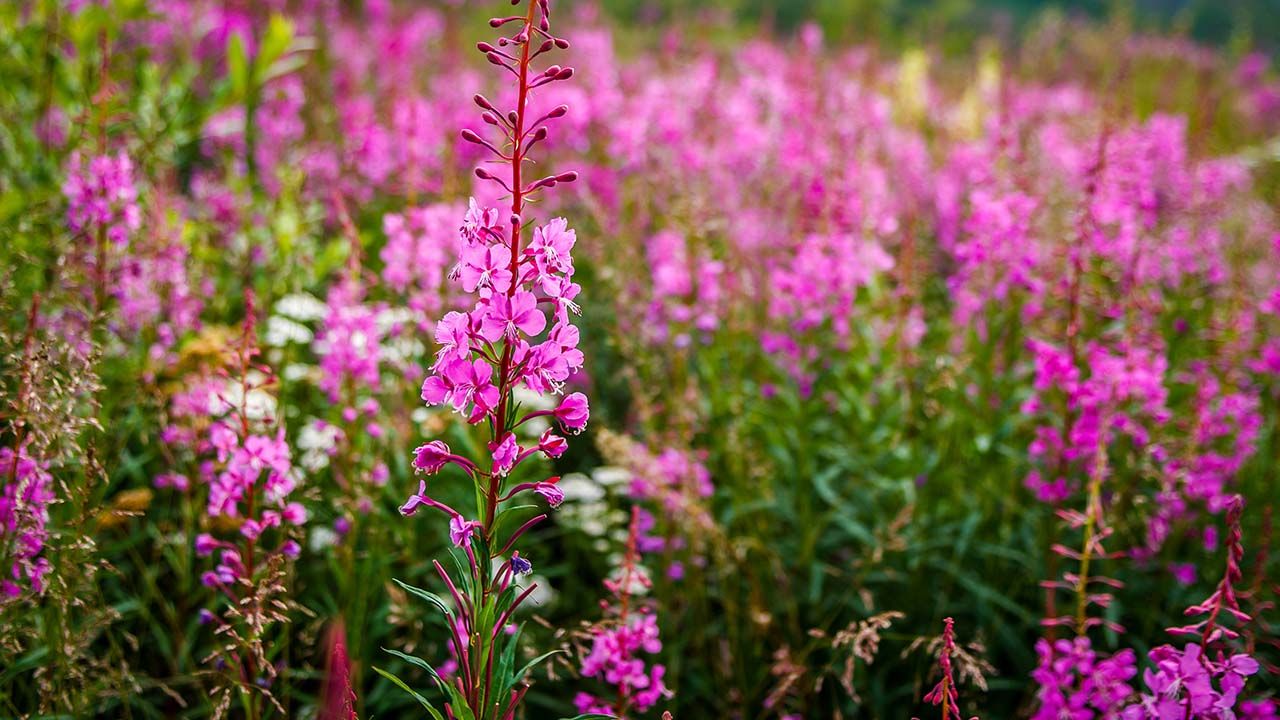
- Aim to use a mix of colors, flower types and sizes, and greenery.

Pressing with the book method is a convenient way to dry your favorite flowers and leaves without needing a flower press. If you do happen to have a flower press, it can make the process easier and more straightforward — so opt to use it if you have one on hand! If not, use the method below to capture the beauty of the flowers around you.
What you’ll need…
- Fresh flowers or leaves
- 2 pieces of parchment paper (approximately the size of the book you'll be using)
- 2 pieces of cardboard (the same size as, or slightly larger than, the paper you'll be using)
- 2 or 3 heavy books (each about as heavy as a phone book)

- Place a piece of parchment paper on the cardboard.
- Now arrange your fresh plant material in a single layer on the parchment paper so that the plants don’t touch.
- Next, cover the plants with another piece of parchment paper, and then add a second piece of cardboard on top.
- Place the books on top and let time do the work. Thin, papery blossoms will dry in as little as 2–3 days, while thicker ones might take up to a week.
- Resist the urge to check your drying plants too often — let the magic happen.
- You'll know the flowers or leaves are fully dried when they are flat, feel dry, and have a papery texture. There shouldn’t be any moisture left in the petals or leaves, and they shouldn't feel cool, as that can suggest remaining dampness. The colors may also look slightly faded or more subdued than when they were fresh.
- Handle dried flowers and leaves gently, as they are fragile and can break easily; using tweezers or holding them by the stem or edges is recommended. Store them in a cool, dry location wrapped in wax paper or tissue paper, and keep them away from humid areas to prevent moisture absorption.
Please note: Don’t have a garden or time to press flowers? You can buy beautiful pressed flower sets online if needed.

How to Make Pressed Flower Candles
After your flowers are dry, you can use them in many crafting projects, but my favorite is making pressed flower candles. I find it both comforting and symbolic. The light from the candles brightens gloomy, chilly days, and the flowers decorating them lift the spirit and brighten the mood.
What you need…
- Variety of pressed flowers
- White or light-colored pillar or taper candles (choose thicker ones)
- Tweezers
- Tealight candle (To avoid differences in tint and transparency, make sure the color and type of wax matches the color and wax type of the candle you’re decorating.)
- Flat paintbrush (with firm bristles)

- Light your tealight candle and let it melt. (Note: If you can’t find a tealight that matches the color and wax type of the candle you are decorating, you can use a double boiler to melt wax from a second candle of the same type.)
- When the wax in the tealight candle is at least partially melted, you can begin decorating your candles. Using tweezers, grab one of the pressed flowers and place it on the side of the candle. Hold it in place with your thumb.

- Dip your brush into the melted wax (avoiding contact with the flame) and gently dab around the edges of the flower to secure it. Once the flower is held in place, spread the wax gently on top of it until the flower is flat and firmly attached to the side of the candle.
- Note: Use dabbing motions and avoid pressing too hard, as forceful brush strokes can disassemble the flower. Work quickly to prevent the wax from cooling. Avoid adding thick layers of wax. Apply just enough to make the flower stick.

- Continue adding flowers, petals, and greenery around the candle, working at different heights to create a multi-dimensional design. Use flowers of various sizes to add depth and interest. Note: You may need to peel the wax off your brush from time to time.
- When you're finished, you may find that you need to fill in gaps with smaller or different flowers, or add an additional ring of decorations to complete the look.

Variation: Pressed Flower Container Candle
Here’s another quick pressed flower candle project. It takes about an hour from start to finish, but once you're done, you'll enjoy many cozy hygge moments by candlelight. As the wax melts, it becomes translucent, making the flowers’ colors pop and brightening your day.
For this variation, you’ll need a cute glass jam jar or an old candle container.
What you need…
- Variety of pressed flowers
- 2 cups of soy or beeswax (or any other preferred alternative; see notes)
- 1 small jam jar or an old clean candle container
- 2 wooden chopsticks
- 1 tabbed candle wick suitable for the jar’s diameter
- Double boiler
- Tweezers
- Thermometer
- Flat paintbrush (with firm bristles)

- Melt the wax in a double boiler. If you don’t have one, place a smaller saucepan filled with wax inside a larger one filled with boiling water. Alternatively, you can use a tabletop candle teapot warmer with an aluminum container to hold the melting wax. Note: Always start by reviewing the instructions provided by the wax manufacturer, as the instructions typically include recommended pouring temperatures specific to the type of wax you are using. Pour the wax at the correct temperature to avoid damaging the pressed flowers. Wax that is too hot can cause the flowers to warp or disintegrate.

- Using tweezers, place your first pressed flower on the inside wall of the jar. Dip your paintbrush in the melted wax, and while holding the flower against the jar with the tweezers, paint over it with the wax. Try not to get any wax between the flower and the jar, as it will obscure the vibrancy of the flower’s color.

- Continue decorating your jar until you’re happy with the design.

- Place the tabbed end of the wick at the bottom center of the jar and secure it with a drop of wax. Position the two wooden chopsticks horizontally across the top of the jar, resting them on the rim so they are parallel to each other. Thread the wick through the middle of the chopsticks and adjust it so it stays centered and upright. Make any necessary adjustments to the chopsticks to keep the wick in place.

- Wrap the jar with a towel to insulate it, which helps ensure that the wax cools evenly.

- Once the wax is completely melted (check the temperature), pour it into the jar, leaving about ¼ inch of space from the top. Allow the candle to cool slowly at room temperature, then trim the wick to ¼-½ inch.
- You can use your candle right away. Enjoy!

Choosing Plants for Your Pressed Candle Project
There are so many beautiful plants out there that it may be difficult to decide which type of flower to use for your pressed candle project. Here are a few clever ideas that might help you make the right choice.
Random Variety
The most obvious choice is to use a variety of plants simply because you have access to them and like how they look. You can arrange the beautiful blooms in any appealing order, following a pleasing composition with a variety of sizes, shapes, and colors.
The Color of Flowers
You can decide on a particular color theme and arrange your flowers accordingly. For example, you could create an all-blue or all-orange composition, or make a monochrome candle design with pink flowers on pink wax. You could also choose a contrasting color scheme, such as green against red, or go with a classic rainbow theme. The possibilities are endless with colorful flower art.

Healing Properties
While your flower decorations won’t work the same way as tea or a poultice, you can still use them according to their properties as a sort of wish or intention for healing. Some medicinal flowers that I love to press include california poppy, wild rose, chamomile, elderflower, feverfew, rosemary, mallow, and lavender.
Magical Meanings
As Scott Cunningham puts it, “Magic, however simple it might seem, provides practical solutions to problems.”1 Historically, most plants were believed to have magical properties and were used as solutions for a wide range of problems to “cause needed changes.”2 Herb magic is easy and accessible to all; you just need to familiarize yourself with the powers that lie within each plant. For example, marshmallow (Althaea officinalis) is associated with protection and psychic powers,3 apple blossom with love and healing,4 and alfalfa with prosperity and money.5 Study the various magical properties of plants and decorate your candles according to your needs or those of the gift recipient.

Language of flowers
This one is extra fun! In Victorian times people were versed in a common language of the meanings of different flowers. You can learn this language through modern or reprinted old books and decorate your candle according to the message you wish to convey. If you’re planning to give the candle as a gift, you can choose to keep the flower message a secret or make it known. Since not everyone is familiar with the language of flowers as people were during Victorian times, consider including a brief dictionary with your gift to explain the meaning of each flower you used.
A Brief History of the Language of Flowers
The Western language of flowers, an intricate system in which each flower is assigned a specific meaning, was adopted and adapted during the Victorian era by a society already obsessed with flowers. This tradition is believed to have been inspired by the Turkish custom of selam—a method of communication through flowers and other objects. The custom was popularized by Lady Mary Wortley Montagu through her Turkish Embassy Letters, published posthumously in 1763. The Victorian language of flowers focused on the romantic aspects of the selam custom, particularly the flowers, while discarding the other objects used in the original Turkish tradition. Specific meanings were then assigned to each flower, drawing from literature, poetry, art, and horticulture. Gardening and horticulture were immensely popular at the time, and the Victorians' strong connection to nature made flower symbolism especially elaborate.6

As the Victorian era drew to a close, the popularity of the language of flowers began to fade, giving way to a new age dominated by logic and scientific thinking. As a species, we continue to evolve, constantly developing new ways to communicate and express ourselves. But has this progress truly made us better at conveying our emotions? Can any technological means declare love more effectively than a red rose? As flower language expert Vanessa Diffenbaugh aptly puts it, "We plant, we nurture, we grow, and we give different flowers for different moments in time, but all for the same purpose: to say that which cannot be said, and to say it with beauty and with grace."7
Enjoy your candle decorating, and expressing yourself through flowers!
Here are a few frequently asked questions about pressed flower candles…

Will the flowers catch fire?
You can safely burn your decorated candles by following a few precautions. Since the pressed flowers are on the outside of the candle and not near the flame, they should remain unaffected by the heat. To catch any debris from the flowers, place your candle on a plate or dish as a precaution.
Never leave candles unattended. Make sure to extinguish the candle completely before leaving the room or going to bed. Safety first ensures that your candles provide ambiance without causing harm.
Will the pressed flowers affect the burning time or quality of the candle?
When used correctly and placed on the exterior of the candle, they typically do not impact the candle's performance significantly. It’s important to ensure that the flowers are securely adhered and that they do not obstruct the candle's burning process.

Are there any common mistakes to avoid when working with pressed flowers?
When working with pressed flowers, avoid using fresh flowers; they should be fully dried and pressed to prevent mold and rot. Ensure thorough and even pressing to avoid uneven shapes and wrinkling. Handle flowers carefully to prevent smudging or tearing, and choose flat, low-moisture flowers for better results. Be aware that some flowers may change color after pressing. To retain their vibrant hues, choose varieties such as lavender, strawflower, cornflower, rose, and calendula, which are known for holding their color well.
Can I use wax paper instead of parchment paper?
No, I do not recommend replacing your sheets of parchment paper with wax paper. The wax paper won’t absorb the moisture from the flowers, which won’t aid drying and will actually make them more likely to mold during the drying process. The process I outlined above is my favorite method for DIY flower pressing. If you’re seeking a simpler process, you can always get a flower press kit.

What fun ideas do you have for beautiful flower art that can I make with pressed, dry flowers?
There is so much flower artwork you can make with your pressed flowers! When it comes to pressed flower craft projects, the world is your oyster. For special occasions, you can decorate cards — like a birthday card, greeting card, or anniversary card — with these flowers. Adhering the beautiful blooms to cardstock or water color paper with a few dots of glue and using ink or paint to accompany the flowers can be a beautiful craft project that highlights these wild plants. You could include a variety of flowers on the card: arrange a little dried bouquet of flowers or craft a single flower head out of a bunch of delicate flower petals. This card of beautiful flowers will surely look like a piece of art!
How long will it take for pressed flowers to dry?
As I noted above, it can take anywhere from a few days to a week for flowers to dry fully in a press. The length of time depends on the types of flowers you’re drying. Flowers with more water content, and larger flowers and chunky flowers too, will take more time to dry.
How do I preserve the vibrant colors of my flower art?
To maintain the vibrant color of your pressed flowers, keep them out of direct sunlight. I especially notice that the more delicate plant parts like flower petals can fade quickly in direct sunlight.


Footnotes
The Herbal Remedy Vault has all of our printable recipe cards...