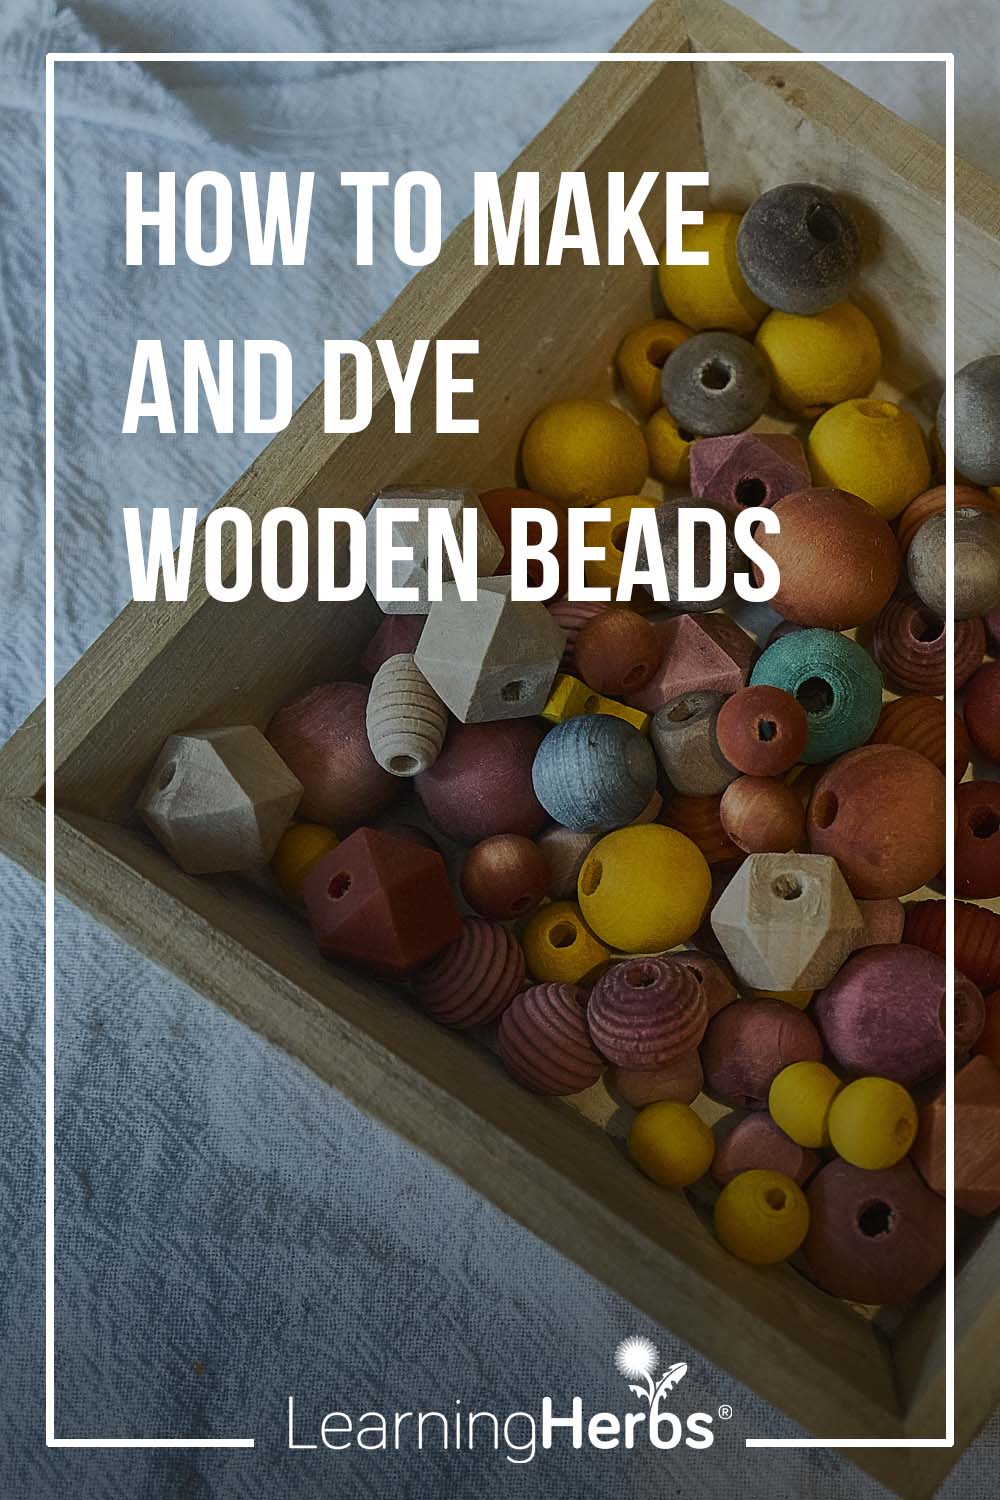
How to Make and Dye Wooden Beads
Creating wooden beads and dyeing them with common herbs is a wonderful way to create a stunning craft and connect with the plants around you. Wooden beads shine on a necklace or on a pair of earrings, and when you sport these beads you know that your plant allies are always nearby.
You can easily carve wooden beads at home from a few key plants, and you can take these carved creations to the next level by dyeing them with a rainbow of botanical dyes. Dyeing wooden beads with botanicals and everyday ingredients is a messy, marvelous adventure— blending art, science, and kitchen herbalism.
A Bit of History
For thousands of years, people worldwide have used plants to create beautiful, lasting dyes. In ancient Egypt, madder plants produced red for mummy wraps, while in India, indigo bushes made deep blues. In old Europe, families boiled onion skins for yellow, and in China, safflower was beloved for its soft pinks. Each culture had its own plant-based dyeing traditions. They would crush leaves, berries, or roots and mix them with a special binding agent to help the colors stick.
This hands-on craft thrived for centuries (both as a necessity and a form of artistic expression) until synthetic dyes largely replaced it about 150 years ago. Still, artisans preserved the tradition, and today botanical dyeing has been revived as a way to connect with nature’s ancient magic. Now, let’s bring that magic into our bead-dyeing craft!
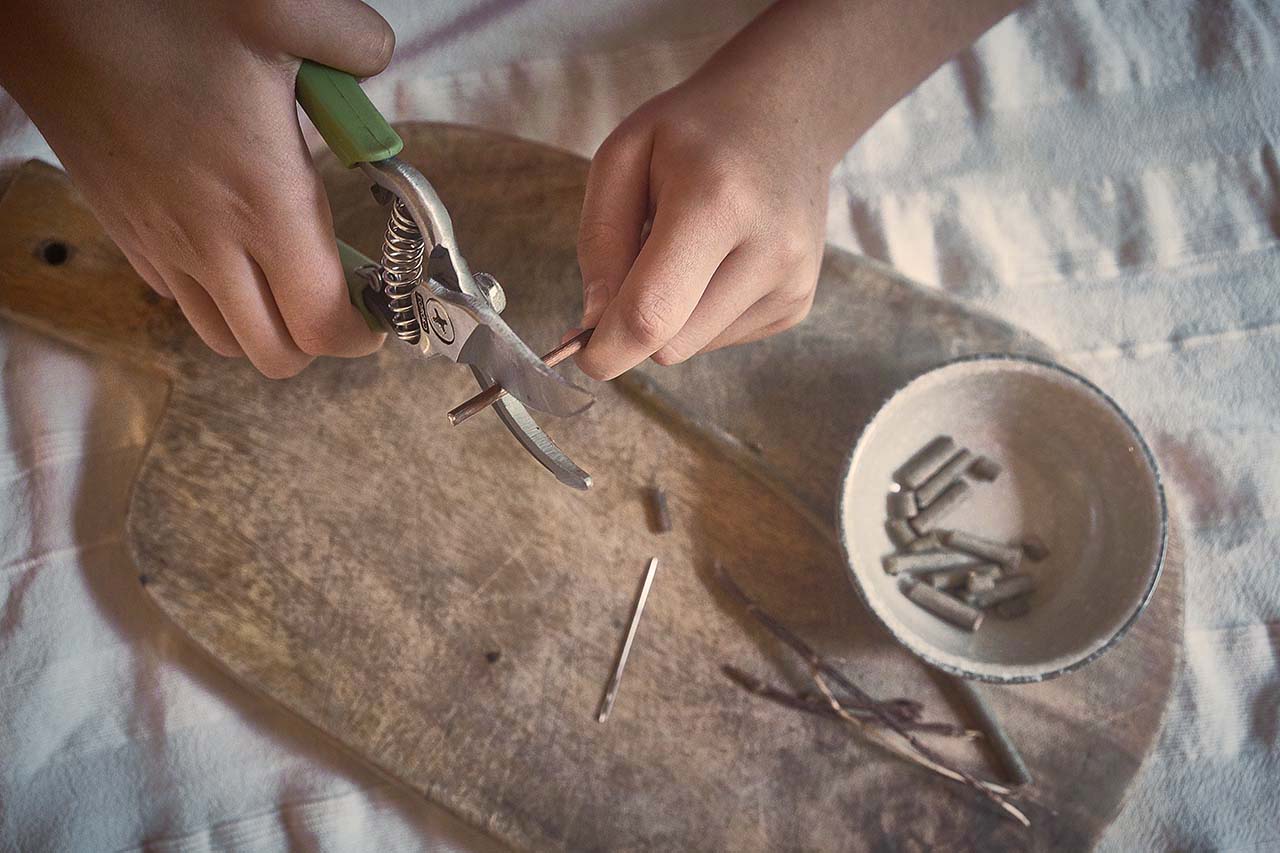
Creating Your Handcrafted Wood Beads
To create these natural beads, look for plants like elder, lilac, honeysuckle or forsythia that have stems with pithy centers. Look for branches that are ¼ to ½ in thick. Cut a length of live branch and then cut it into small (¼-½ inch) pieces. Use an awl to remove the pith from the branch centers. These will be your wood beads. You can cut your custom beads all into one size or cut a variety of bead sizes to make a pattern when you string your necklace. Now that you’ve prepared your unfinished wood beads, you can dye them with a variety of beautiful colors.
If you don’t have access to any of these plants, you can also purchase wooden beads online.
Dyeing Beads with Natural Dyes
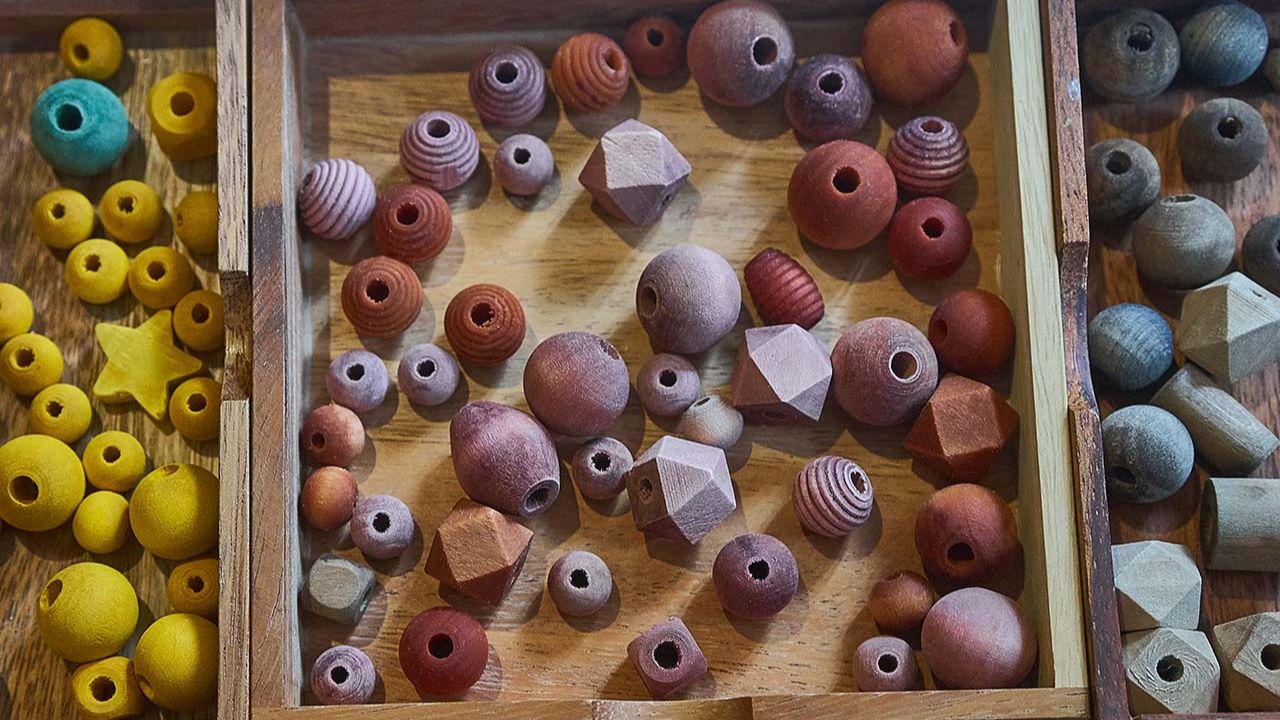
With just a few kitchen ingredients and simple steps, you can transform plain wooden beads into colorful beads with beautiful earthy tones—all without harsh chemicals! If you’re a kid, be sure to team up with a trusted adult when handling the dye pot, especially when heating it up, placing it on the stove, or taking it off.
Note: mordanting methods go beyond the scope of this article. For the recipes below, we’ll assume you’ll use Method 1 or 2 (described in this article), or skip mordanting altogether. However, be sure to research Method 3 mentioned in this article—it’s incredibly rewarding and can lead to vibrant, long-lasting results!
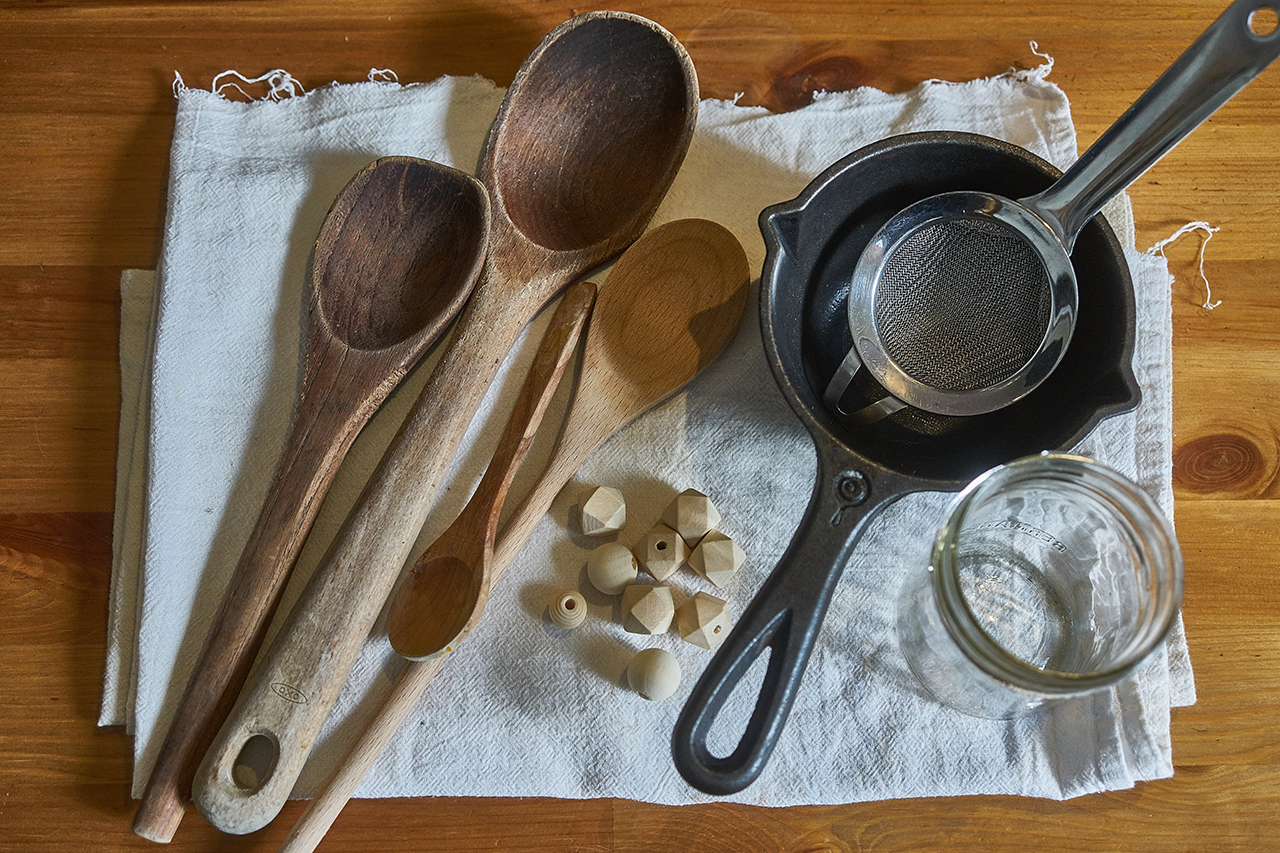
Tools you’ll need…
- Stainless steel pots with lids (size depends on the project)
- Stainless steel strainer
- Mortar and pestle
- Spoons (wooden or stainless steel)
- Cheesecloth
- Cutting board
- Kitchen scissors
- Glass jars (for storing dyes)
- Stir sticks and steel tongs
- Labels and permanent markers
- Protective layer for surfaces
- Gloves (optional)
Note: this list is a general guide—some tools may not be necessary for every project, while others may prove helpful but aren’t listed. As you experiment with plant dyeing, you may discover new equipment that makes your creative process more organized, safe, and enjoyable!
Ingredients You’ll Need
- Dyestuffs (plants, powders, or kitchen ingredients): for every 2 cups of water, use roughly 2 tablespoons of powder, 1/4 cup of dried herbs, or 1 cup of fresh plant material.
- Water (see ratios above)
- Oil or sealant (to protect and set the color)
- Wooden beads (various sizes)
- String (if you’d like to make a necklace)
Note: for more information on dyestuffs and sealants, be sure to refer to various sections of this article below for detailed guidance. The amount of dyestuffs listed above are approximate and can vary depending on the color intensity you want. Feel free to experiment!
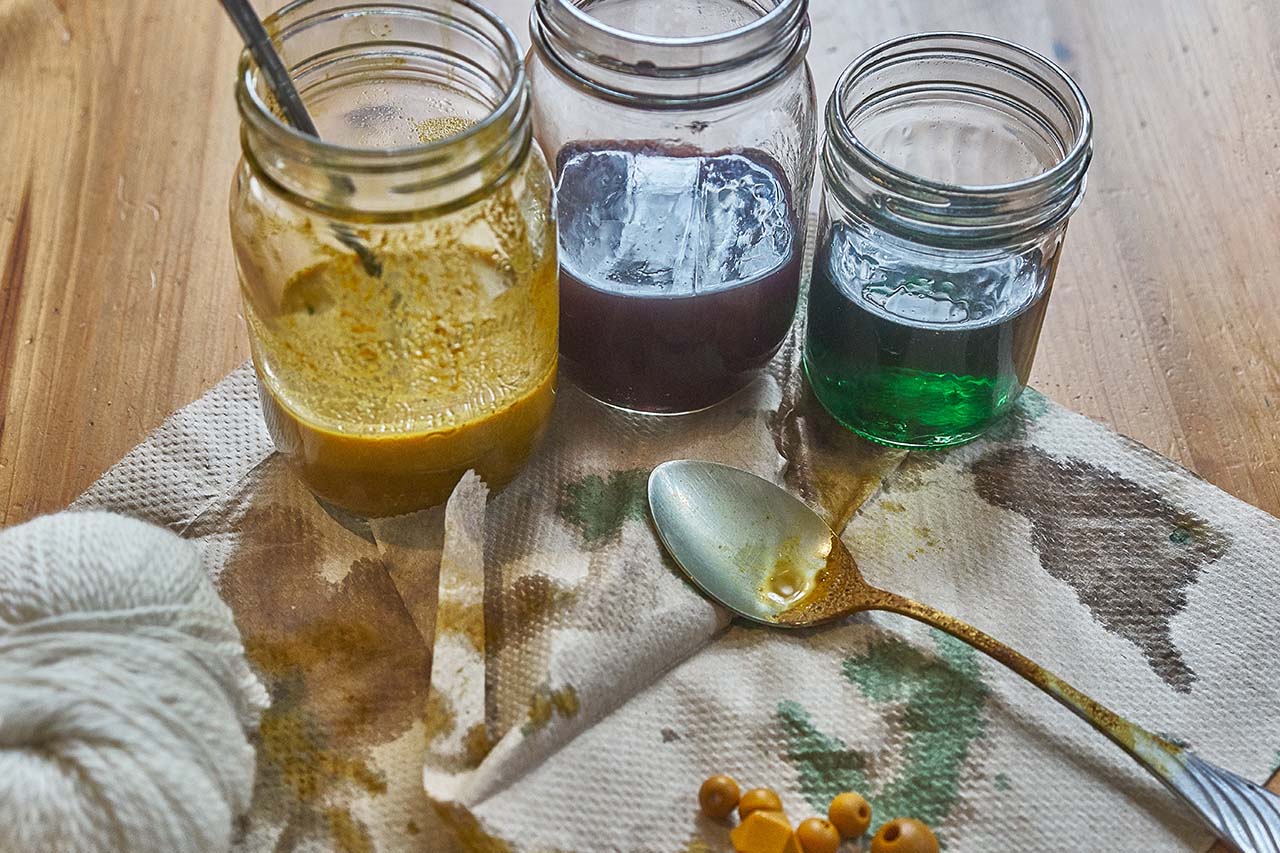
Step 1: Making Your Dye Bath
- Place your plant material (like onion skins or berries) into a pot. Pour in just enough water to cover everything—don’t add too much! Since wood isn’t as absorbent as fabric, we need a super-strong dye.
- Cover with a lid and heat on low for about an hour. Avoid boiling—our goal is to draw out the color, not cook the plants! Keep an eye on the water level and add a little more if it starts to evaporate.
- Once heated, let your dye bath rest for a few hours or even overnight. Some colors deepen or change over time, so be patient!
- When you love the color, strain out the plant bits using a sieve lined with cloth. Now your dye bath is ready—time to dip those beads and see what beautiful shades appear!
Note: some plants release color quickly, while others need more heat or time. Start on low heat and gradually increase to see what works best. You can also compare soaking the dyestuff in hot water instead of keeping it on the stove—both methods can create unique results!
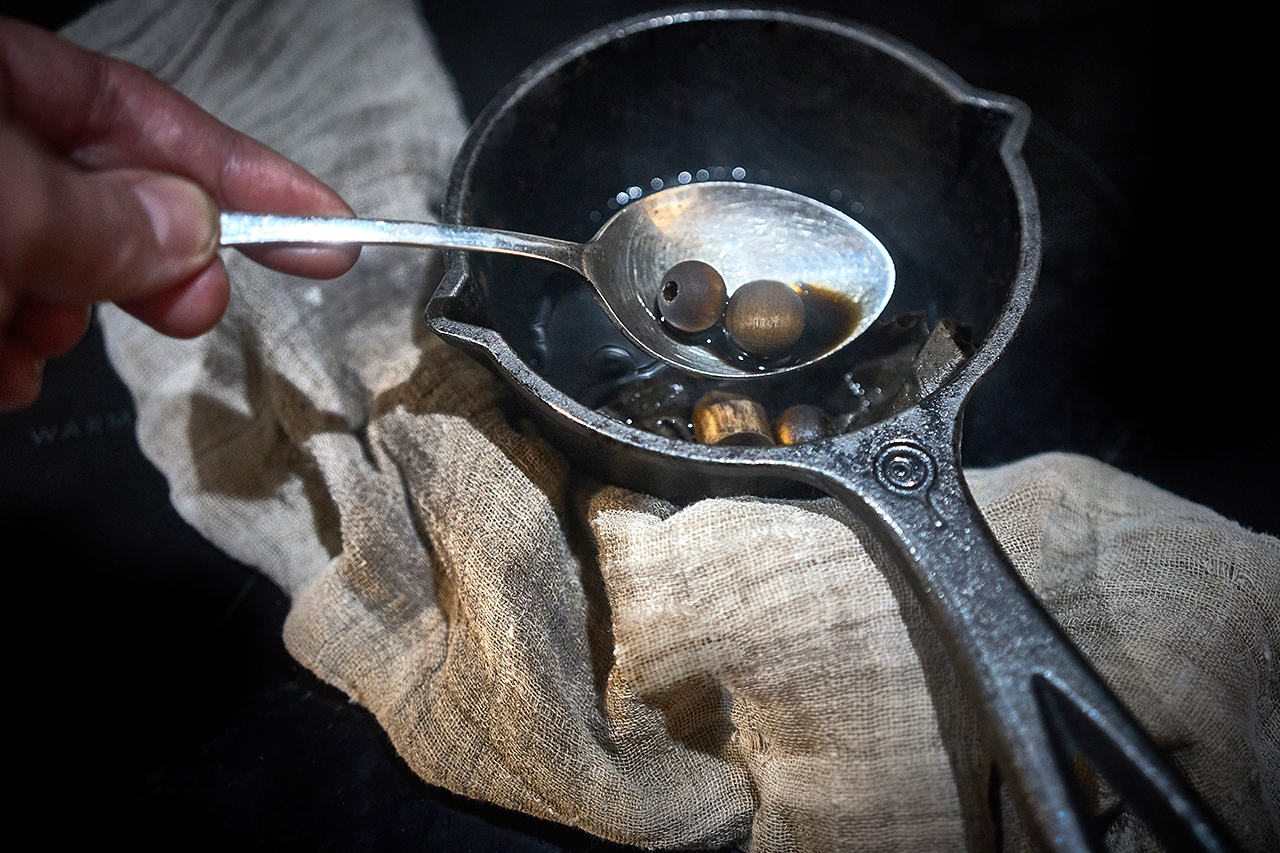
Step 2: Dyeing Wooden Beads
- Pour your dye liquid into a small pot. For beads, a dye depth of a few inches in the pot is enough. Bigger items need a deeper dye bath in the pot to stay fully submerged.
- Warm the dye just below simmering. No boiling!
- Carefully add your wooden items, making sure not to overcrowd the pot. Beads will float at first but will start sinking as they soak up the dye.
- Keep stirring so everything colors evenly. Wood can burn if it touches the bottom of the pot, so keep things moving! If your beads keep floating, gently press them down with a damp cloth.
- After about 15-20 minutes, turn off the heat and let the beads rest in the dye. You can leave them for hours or even overnight for deeper colors.
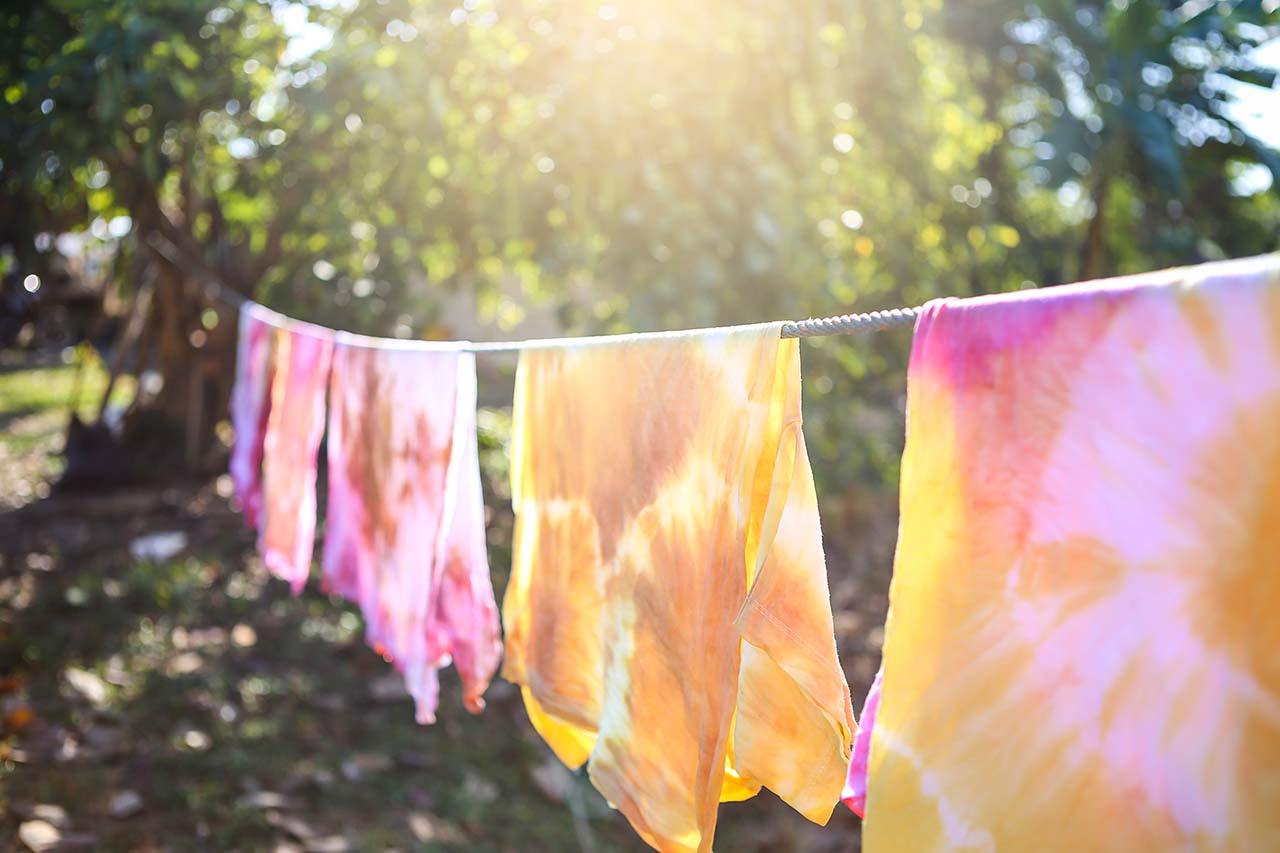
- When you’re happy with the color, strain the beads, give them a quick rinse, and pat them dry. Let them fully air dry before using!
- Want a stronger color? You can repeat the process or soak the beads in a jar of dye on a sunny windowsill for a day or two. Shake the jar now and then to help the color spread evenly!
Step 3: Sealing Your Dyed Beads
- Ensure your beads are completely dry before sealing.
- Use a soft cloth to rub a thin layer of oil, wax, or another sealant onto each bead. If using glue, brush on an even coat.
- Wipe away any extra sealant to prevent stickiness.
- Place beads on a cloth or paper towel and allow them to dry for at least a day.
- For extra protection, apply a second layer once the first is fully dry.
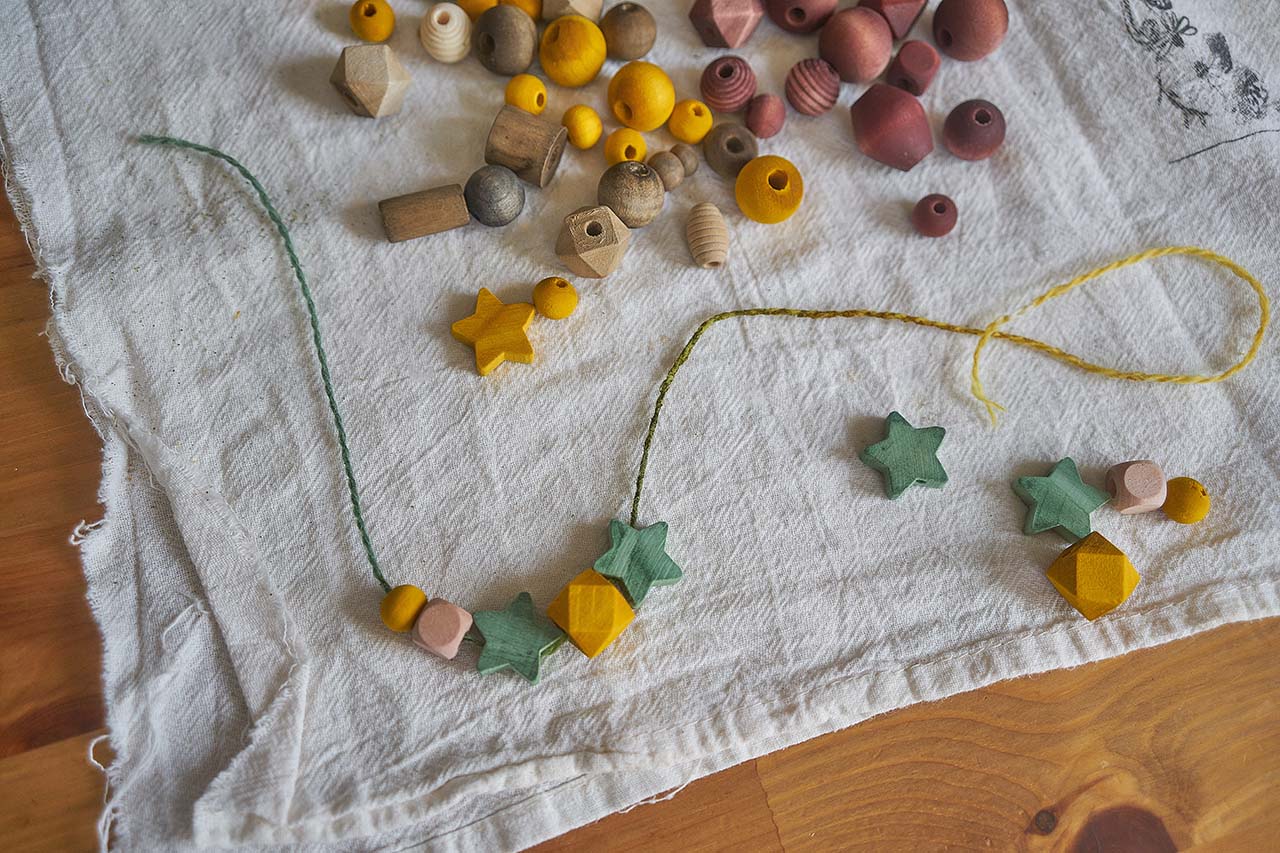
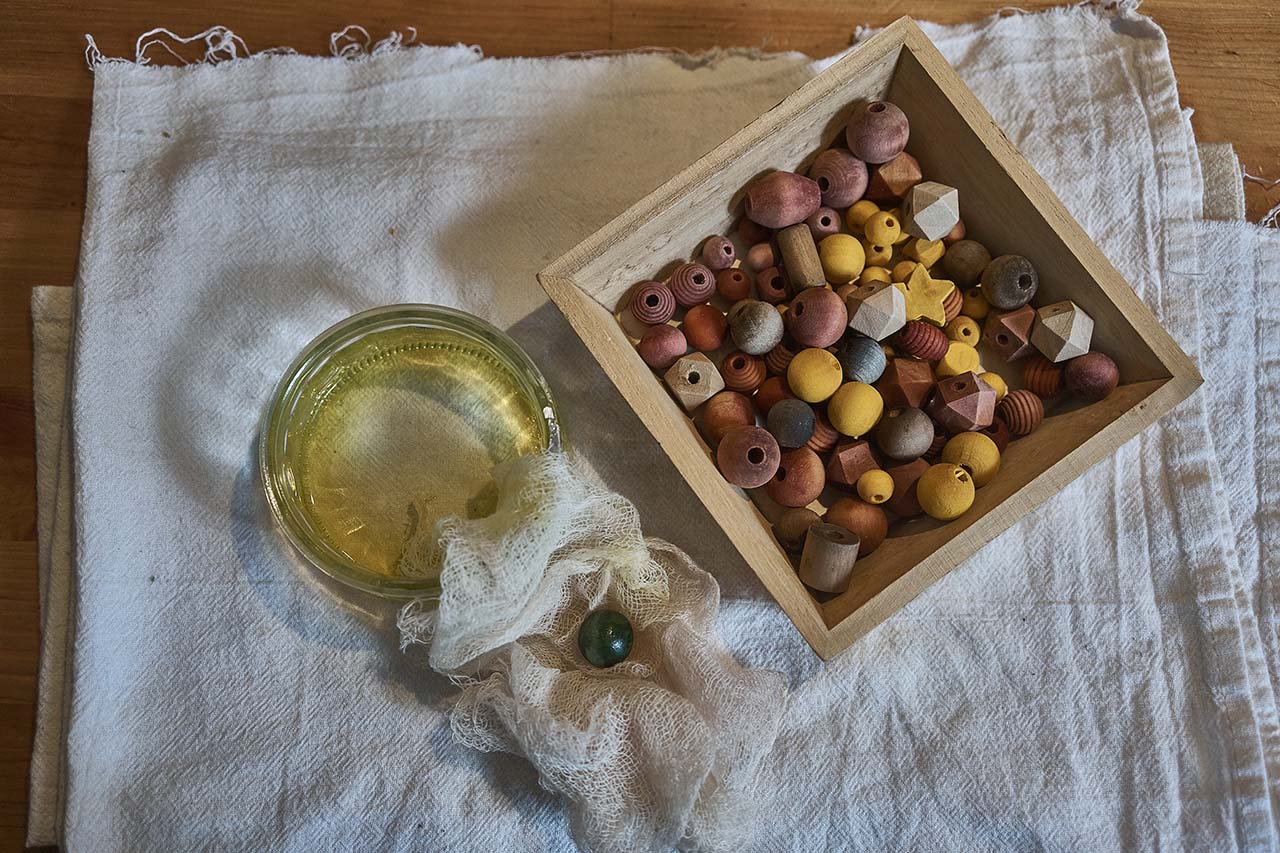
Now it's time to decide what to do with your beautiful beads! You can string them onto a piece of ribbon, string, or leather cord to make a necklace or a wooden bead garland. Or, you might like to leave them loose as fun little treasures to play with, use them for counting games, or add them to another craft project.
Want to take your wooden bead craft a step further? You can even dye your string to match! Check out this guide to botanically dyeing fabric to easily dye string for your wooden beads.
![]()
Craving More Botanical Crafts?
If you’re excited to dive more into the wondrous world of botanical crafts, check out Herb Fairies. Created by LearningHerbs co-founder Kimberly Gallagher, Herb Fairies is a book series and easy-to-follow learning system that teaches kids all about herbs. Each book comes with instructions for a beautiful herbal craft like suncatchers, fairy doors, dream pillows, and more. Check out Herb Fairies here.
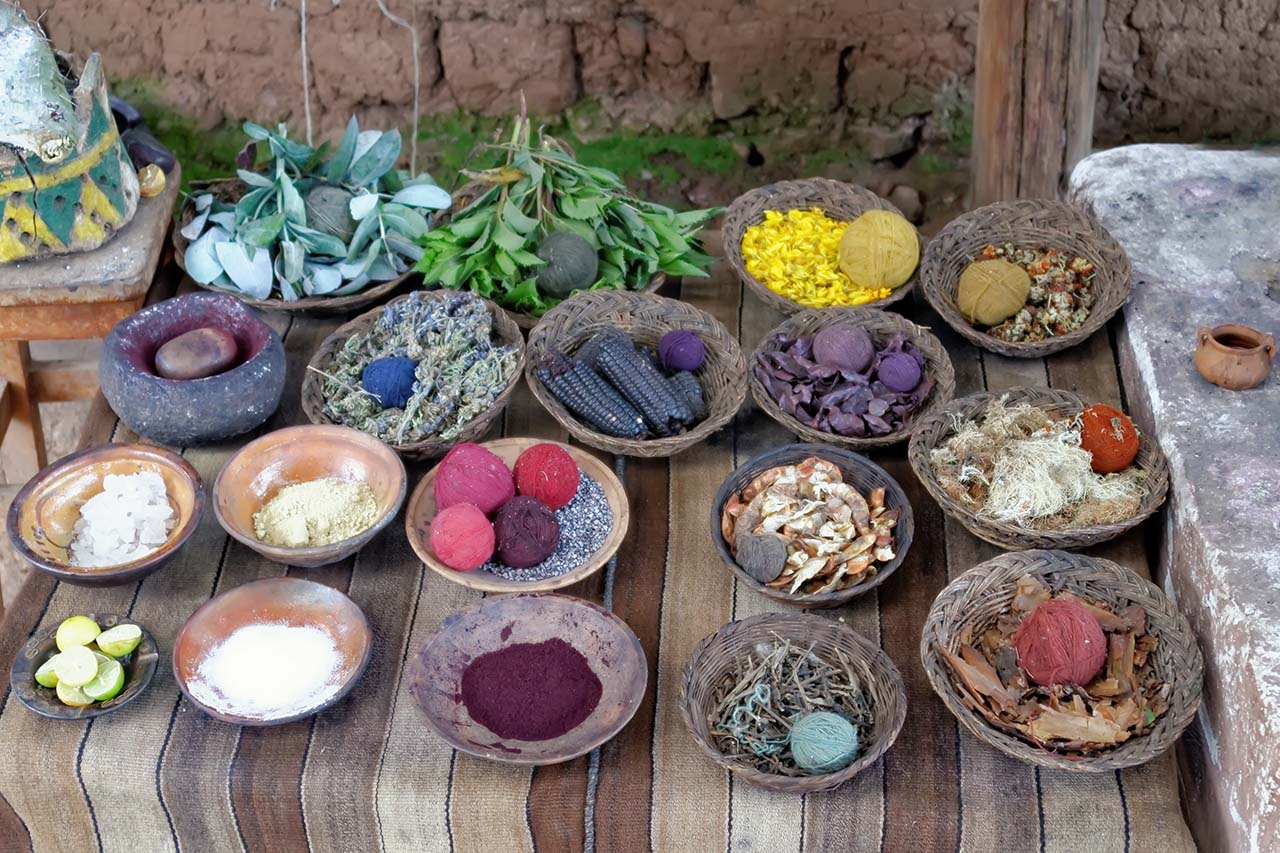
Sourcing Dye Colors
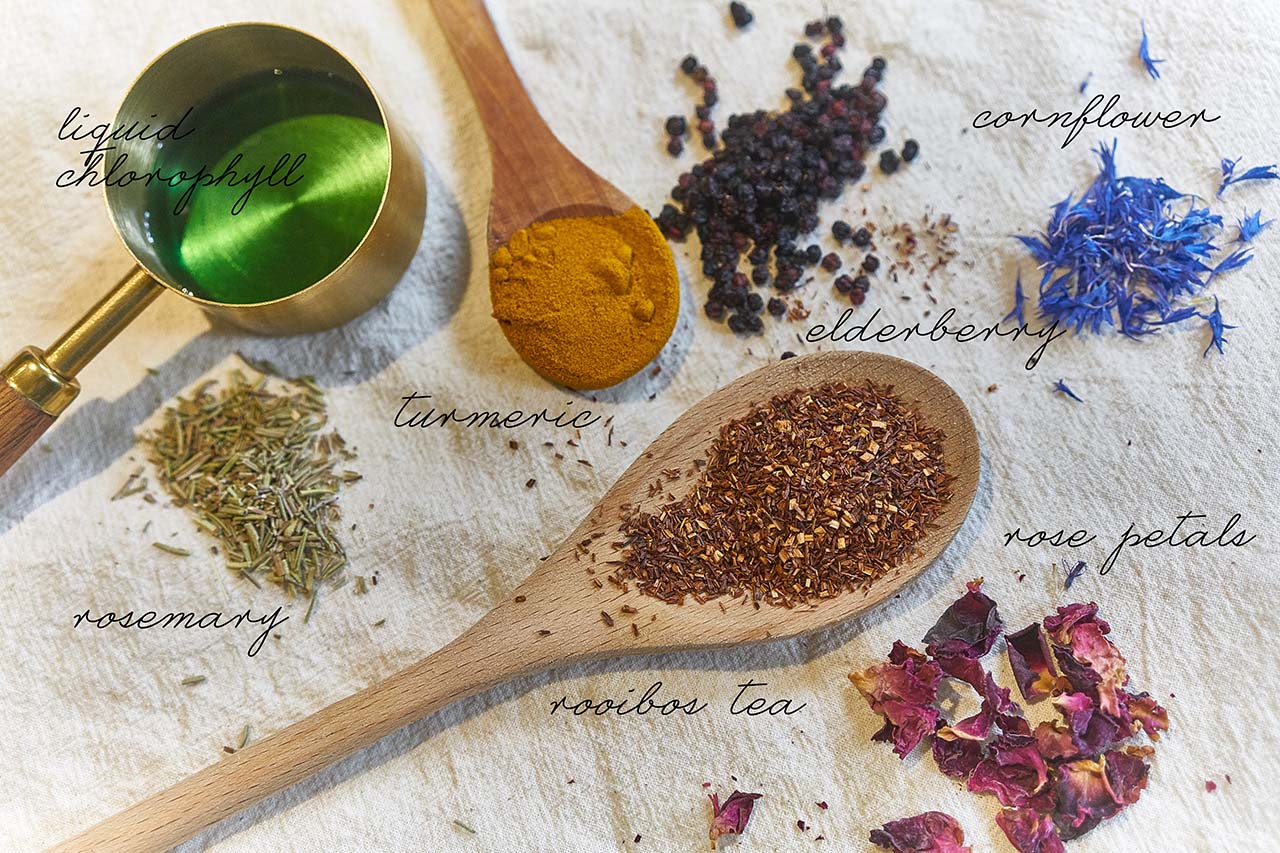
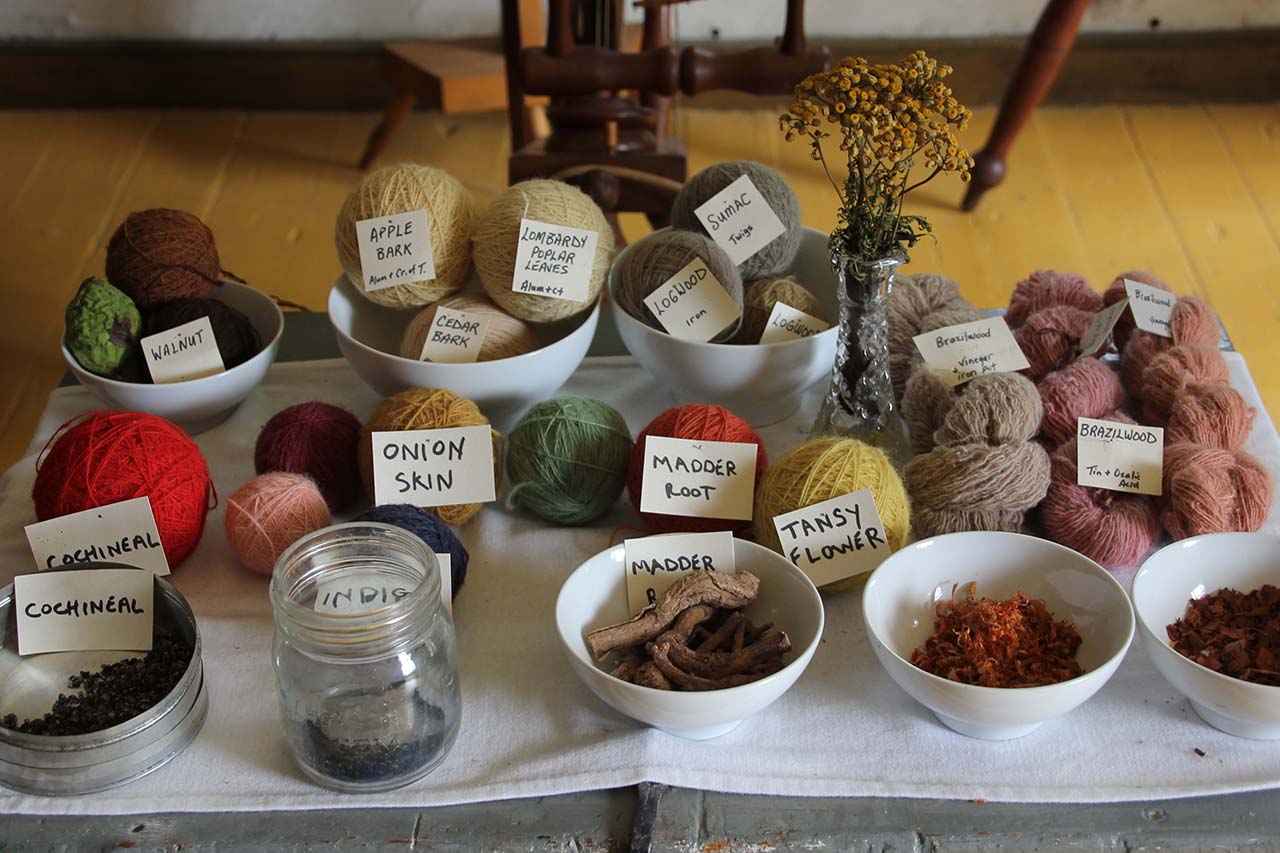
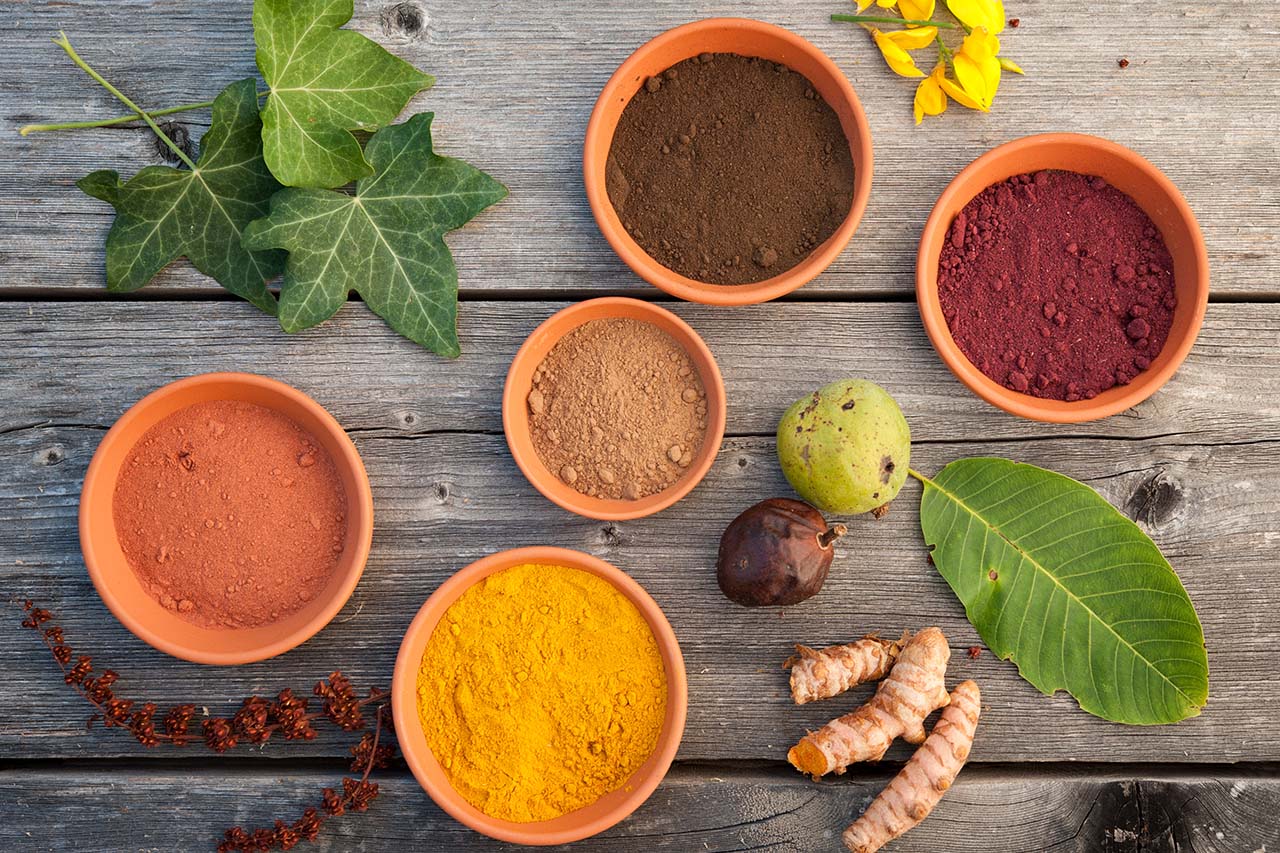
Whether it's onion skins for golden yellows or dandelion roots for reds, the world of wild dyeing is colorful, simple, and full of surprises. The best part? Some of the most vibrant and beautiful dyes can come from plants you might already have in your kitchen cupboard, backyard, or supermarket. These dyes are not only safe but also easy to make: you don't need any special equipment or dyeing expertise—and you can customize your DIY craft beads with your favorite colors.
Here are some options for plant materials and the colors they produce, which you can use in your dyeing project…
Reds
- Dandelion Root (Taraxacum officinale) – Earthy red tones
- Lady’s Bedstraw Root (Galium verum) – Historical red dye
- Madder (Rubia tinctorum) – Deep reds and oranges
- Safflower (Carthamus tinctorius) – Reds, pinks, and oranges
- Spruce Cones (Picea spp.) – Reddish-brown hues
Blues & Purples
- Blackberry (Rubus fruticosus) – Purples and blues
- Cornflower (Centaurea cyanus) – Soft blue shades
- Grape Skins (Vitis vinifera) – Deep purples and blues
- Purple Basil (Ocimum basilicum 'Purpurascens') – Purplish tones
- Violet (Viola spp.) – Subtle purples
Browns
- Alder Bark & Cones (Alnus spp.) – Reddish to deep browns
- Black Walnut Hulls (Juglans nigra) – Deep, rich browns
- Chestnut (Castanea spp.) – Warm brown tones
- Comfrey (Symphytum officinale) – Muted brown shades
- Oak Bark & Acorns (Quercus spp.) – Earthy browns with tannins
- Tea Leaves (Camellia sinensis) – Warm brown tones
- Coffee Grounds (Coffea spp.) – Dark browns to sepia
Pinks
- Amaranth Flowers (Amaranthus spp.) – Pink to reddish tones
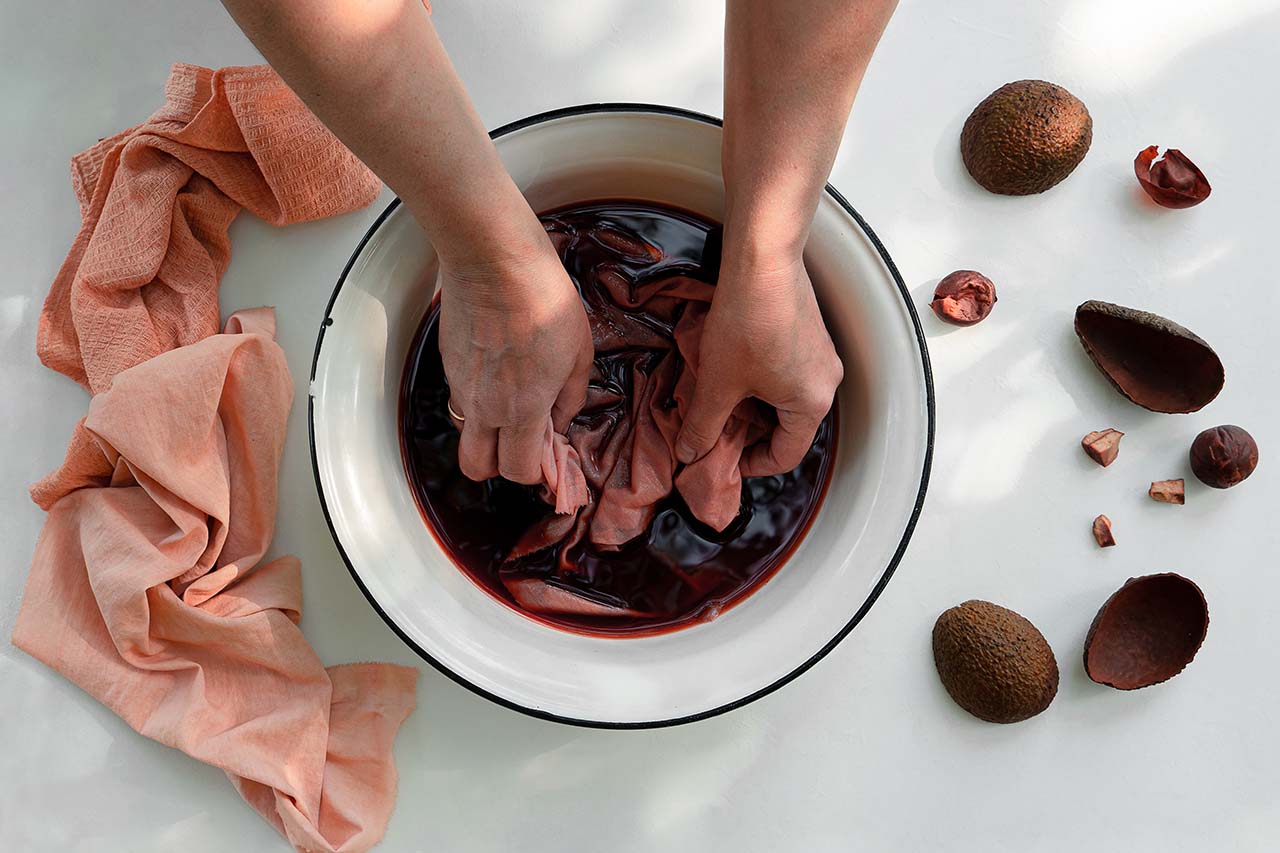
- Avocado Pits & Skins (Persea americana) – Dusty pinks and salmon hues
- Birch Bark (Betula spp.) – Delicate pink hues
- Rose Petals (Rosa spp.) – Subtle pink dyes
- Safflower (Carthamus tinctorius) – Soft pinks and corals
- Sorrel Root (Rumex acetosella) – Soft, muted pinks
Grays & Blacks
- Alder Bark (Alnus spp.) – Dark gray to black tones
- Black Walnut Hulls (Juglans nigra) – Deep browns to blacks
- Iris Root (Iris spp.) – Soft grays
- Oak Galls (Quercus spp.) – Black when combined with iron
- Poplar Leaves (Populus spp.) – Grayish hues
- Sumac Leaves & Berries (Rhus spp.) – High in tannins, helps achieve gray tones
Yellows
- Calendula (Calendula officinalis) – Soft, warm yellows
- Catnip (Nepeta cataria) – Soft yellow tones
- Chamomile (Matricaria chamomilla) – Gentle, sunny yellow
- Goldenrod (Solidago spp.) – Warm, bright yellows
- Marigold (Tagetes spp.) – Bright golden-yellow
- Onion Skins (Allium cepa) – Golden to orange-yellow hues
- Queen Anne’s Lace (Daucus carota) – Pale, delicate yellow
- Tansy (Tanacetum vulgare) – Rich, golden-yellow
- Turmeric (Curcuma longa) – Vibrant golden-yellow
Greens
- Fennel (Foeniculum vulgare) – Yellow-green shades
- Hyssop (Hyssopus officinalis) – Soft greens
- Nettle (Urtica dioica) – Soft green shades
- Plantain (Plantago spp.) – Pale to medium greens
- Yarrow (Achillea millefolium) – Muted green hues
Using Fresh or Dried Plants
Whether you’re using fresh or dried plants, there’s a wide variety of dyes you can work with. If you’re using dried plants, keep a few things in mind. Dried plants often have more concentrated color, so you might need less than you would with fresh ones. However, some colors may shift slightly when dried. Many dried dye plants, like onion skins, madder root, and chamomile, work beautifully and are easy to store for future projects.
To get the best results, rehydrate dried plants by soaking them in water before heating, start with a small batch and adjust as needed. Strain well to remove any plant bits that might stick to your beads or fabric. Most importantly, don’t be afraid to experiment—there’s always a new color waiting to be discovered!
Safety and precautions
The tools used for plant dyeing are often the same as those found in the kitchen, but it's important to keep a separate set dedicated just for dyeing. You don’t want to accidentally mix dyeing equipment with utensils or pots used for food—especially if you decide to explore other dyeing techniques in the future.
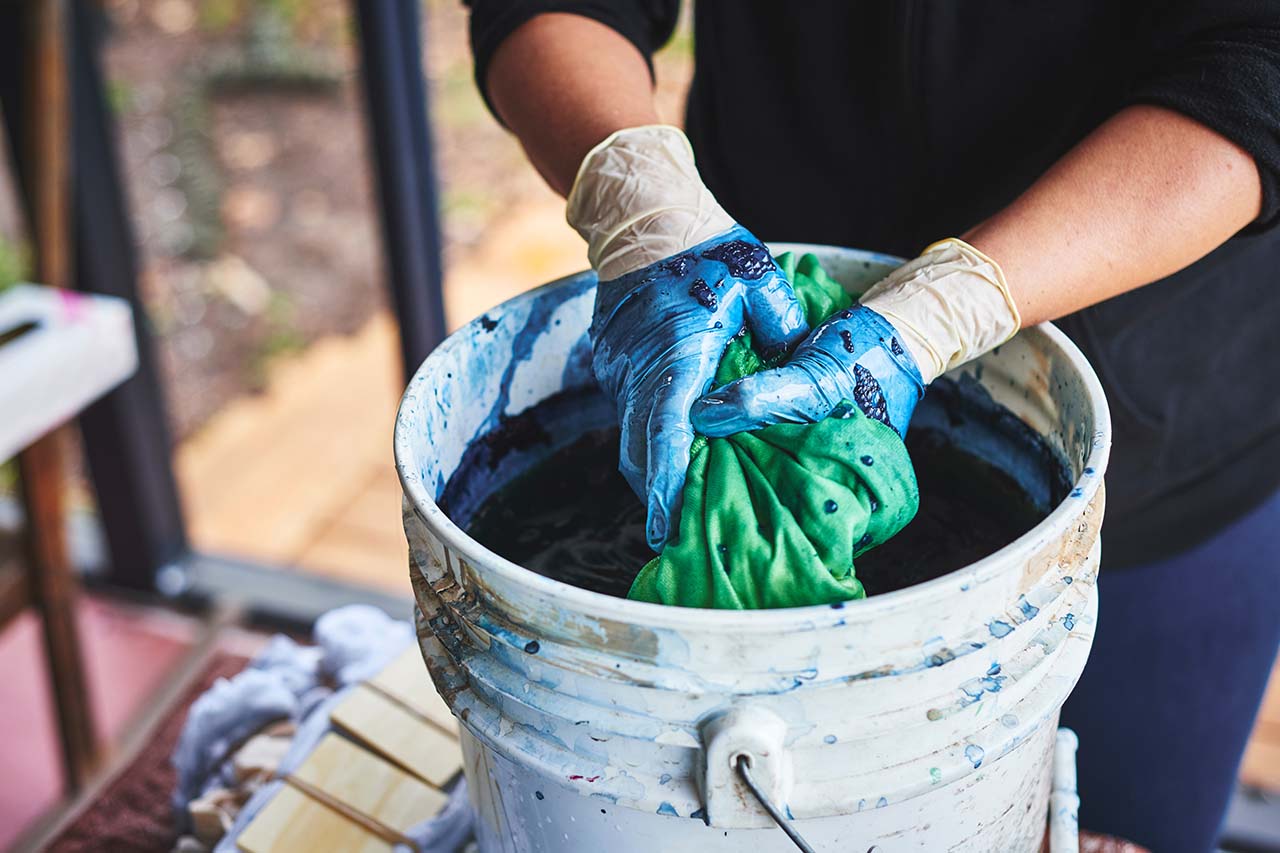
And if you’d rather not end up with blue or pink hands, consider wearing gloves and laying down a protective cover before you start. A little prep goes a long way in keeping both your hands and kitchen happy!
Also, make sure to properly identify any plants you plan to use for dyeing. When in doubt, ask someone with more experience to confirm your findings.

Finishing your creations
To add extra shine to your new favorite beads, you can rub oils and other sealants onto them. Here are some of the safest and cleanest options:
- Linseed Oil: Derived from flax seeds, linseed oil is a natural and traditional option for protecting and preserving wood. It penetrates deeply into the fibers, offering a smooth finish and enhancing the color of the dye. It can provide a slight gloss and help waterproof the beads, although it takes time to dry.
- Beeswax: Beeswax is a safe, natural sealant that’s great for kids' crafts. It creates a protective coating on the wood, giving it a soft, matte finish. Beeswax also offers a mild sheen and can be buffed for a smoother surface. It’s easy to apply with a cloth or by rubbing directly onto the beads, making it simple for crafters. Beeswax is ideal for projects needing a natural, non-toxic finish.
- Lanolin: Lanolin, a natural wax from sheep wool, is known for its moisturizing properties and is commonly used to seal wood. When applied to dyed beads, it helps lock in color, protect the beads from moisture, and provides a soft, protective coating with a slight sheen. Lanolin can darken the wood slightly, but it’s gentle and non-toxic, making it a good choice for kid-friendly projects.
- School Glue: School glue is safe, easy to use, and dries clear, leaving a glossy finish. While it’s not as durable or waterproof as oils or waxes, it can still offer a light seal for dyed beads. It's a good option for temporary or craft projects where you want a smooth, shiny surface but don’t need long-lasting protection. However, it may leave the piece feeling rough, which could be a downside in tactile projects.
Here are some frequently asked questions about natural dyeing…
Can I dye synthetic fabrics?
Natural dyes work best on natural fibers like cotton, wool, and silk. Synthetic fibers, like polyester, are less likely to hold natural dyes well.
Why should I use natural dyes when there are so many synthetic ones that provide predictable, vibrant colors and are easy to obtain?
Natural dyes are made from plant materials, minerals, and insects, making them as true to their original sources as possible, without additives that might be harmful, especially to children. While synthetic dyes are often bright and predictable, they can be harsh on the environment due to their chemical production processes. In contrast, plant dyes are biodegradable and non-toxic, offering a safer and more eco-friendly alternative.
How do I store natural dyes and dyeing supplies?
You can reuse dye baths to achieve lighter or different shades for additional projects. Store unused dye baths in glass jars in a cool, dark place or in the fridge. If you’re using a pint-sized jar, you can add a teaspoon of salt to help preserve the dye for longer. Since dyes can stain, avoid using your favorite porcelain to store them. And always, always, label everything clearly to prevent confusion!
Can I dye wooden beads for babies to chew on?
When dyeing wooden beads for babies, it's super important to think about safety. Check if the plants you're using are safe to ingest and make sure you’re using a safe pot, like stainless steel. Keep in mind that the dyeing process can weaken the wood, making it more prone to cracking. If you're dyeing for a baby, proceed with care. For older kids who don’t put things in their mouths, dyed wooden toys can be a lovely choice—just remember to oil them now and then to keep them in good shape!

Can I dye kitchen utensils like spoons and spatulas?
While it can be tempting to give your kitchen utensils a colorful makeover, it’s important to approach this with caution. Wooden utensils, like spoons and spatulas, can absorb dye during the process, but that can make them difficult to clean and potentially unsafe if they come into contact with food. The dye might also wear off with use, especially when washed repeatedly. Furthermore, the heat from the dye bath can affect the wood’s texture, causing it to crack or weaken over time.
Can I mix different plant dyes together?
Yes! You can mix different plant dyes together, but the results can be unpredictable—and that’s part of the fun! When mixing plant dyes, keep in mind that some colors blend beautifully while others may turn muddy.

The Herbal Remedy Vault has all of our printable recipe cards...