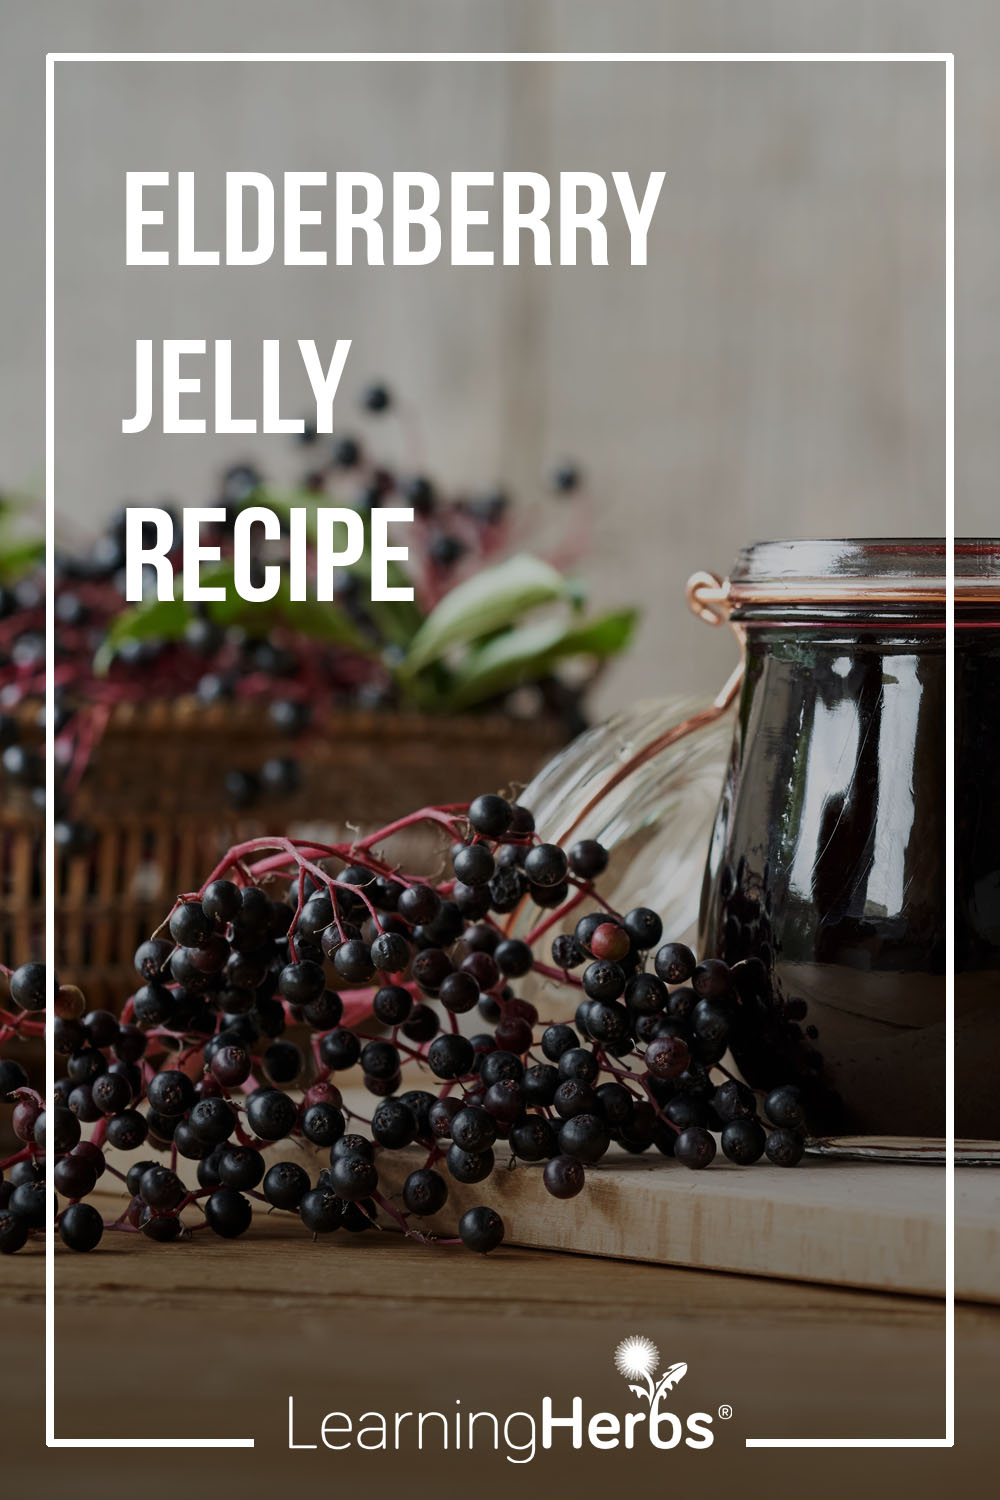
How to Make Elderberry Jelly
I used to feel a little annoyed when I stumbled across recipes for elderberry wine, elderberry chutney, elderberry oxymel, or any of the other whimsical creations a forager's mind can weave into existence. Who actually has that much elderberry? I'd think. And who can afford to spend it on culinary excesses?
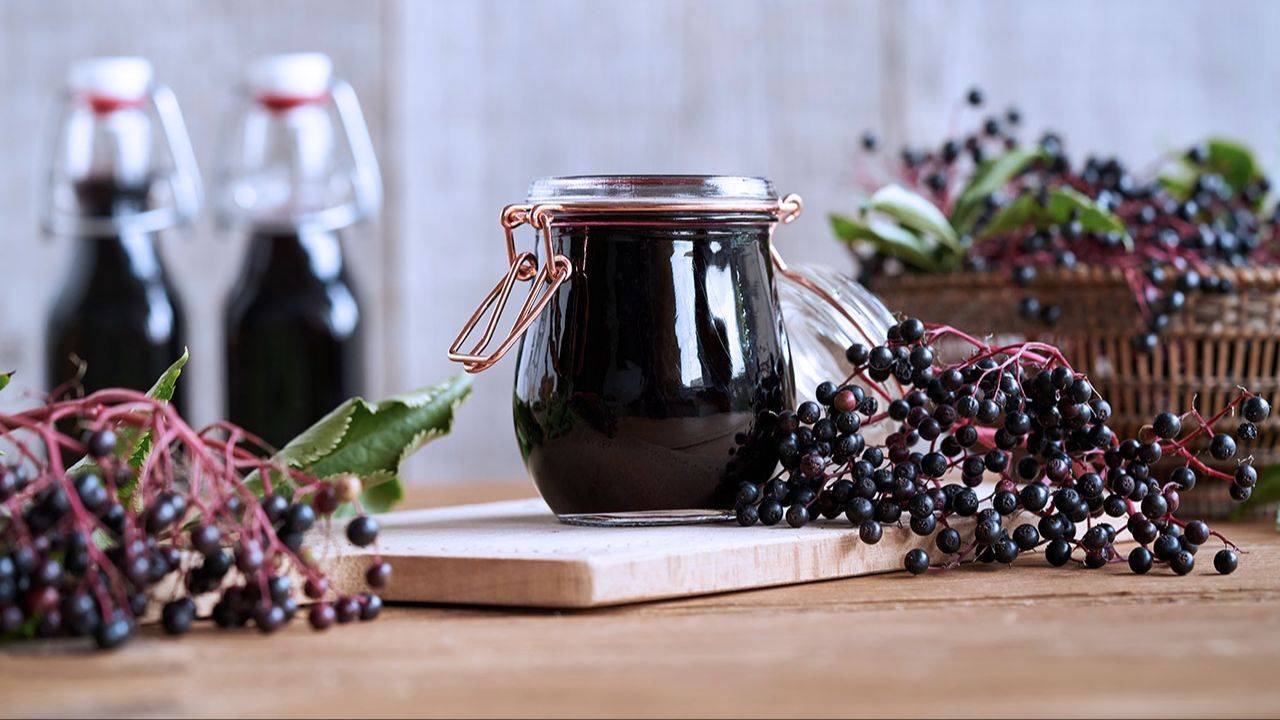
Then we moved, and I got a little carried away planting elder trees. It turns out there really is such a thing as too much elderberry, and once you're there, you need a plan. That's also when I discovered elderberry jelly: a rich, versatile, delicious treat with rich notes of chocolate and wine.
So, if you’re like me and suddenly find yourself with an excess during elderberry season, do yourself a favor and make this jelly. You’ll thank me later.
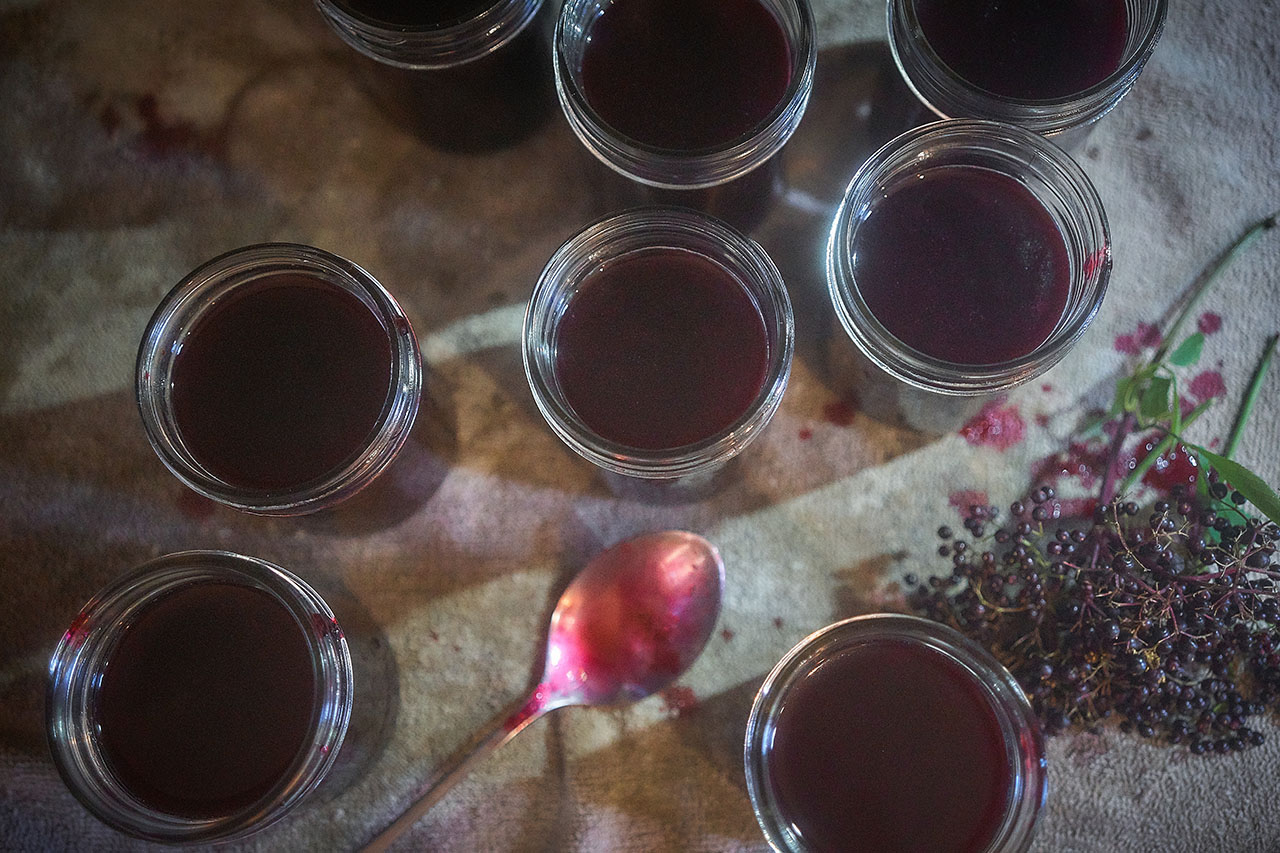
Elderberry Jelly Recipe
This jelly is wonderful on its own or spread on sourdough toast. It’s more of a dessert jelly, so I don’t recommend pairing it with cheese or using it as a glaze. But it is delicious in sandwich cookies, or simply eaten by the spoonful. Tied with a pretty bow, a jar of homemade elderberry jelly also makes a lovely gift.
What you’ll need…
- 1 quart elderberries
- 2 to 4 cups sugar
- Juice of 1 lemon
- Water
- 1 packet (2 oz / 57 g) powdered low- or no-sugar pectin (you'll need approximately 6 teaspoons for this recipe; see the note in Step 6)
Psst... The squished berries at the bottom or your foraging tote are just fine for jellies and syrups. If you don't have quite enough elderberries, feel free to mix and match with other dark berries. It won't be exactly the same, but elderberries have such a distinctive flavor that they'll still shine through and be easily recognizable.
- Place the berries in a small pot or saucepan that can hold at least 2 quarts (2 L). Add just enough water to barely cover them, then bring everything to a boil. Note: Sometimes I use herbal tea instead of water. It's an easy way to add another layer of flavor and aroma while incorporating the benefits of your favorite herbs.
- Cover with the lid slightly ajar. Reduce the heat and simmer, stirring and gently mashing the berries from time to time. Continue cooking for 20–30 minutes, or until the berries are very soft and the pulp separates easily from the seeds.
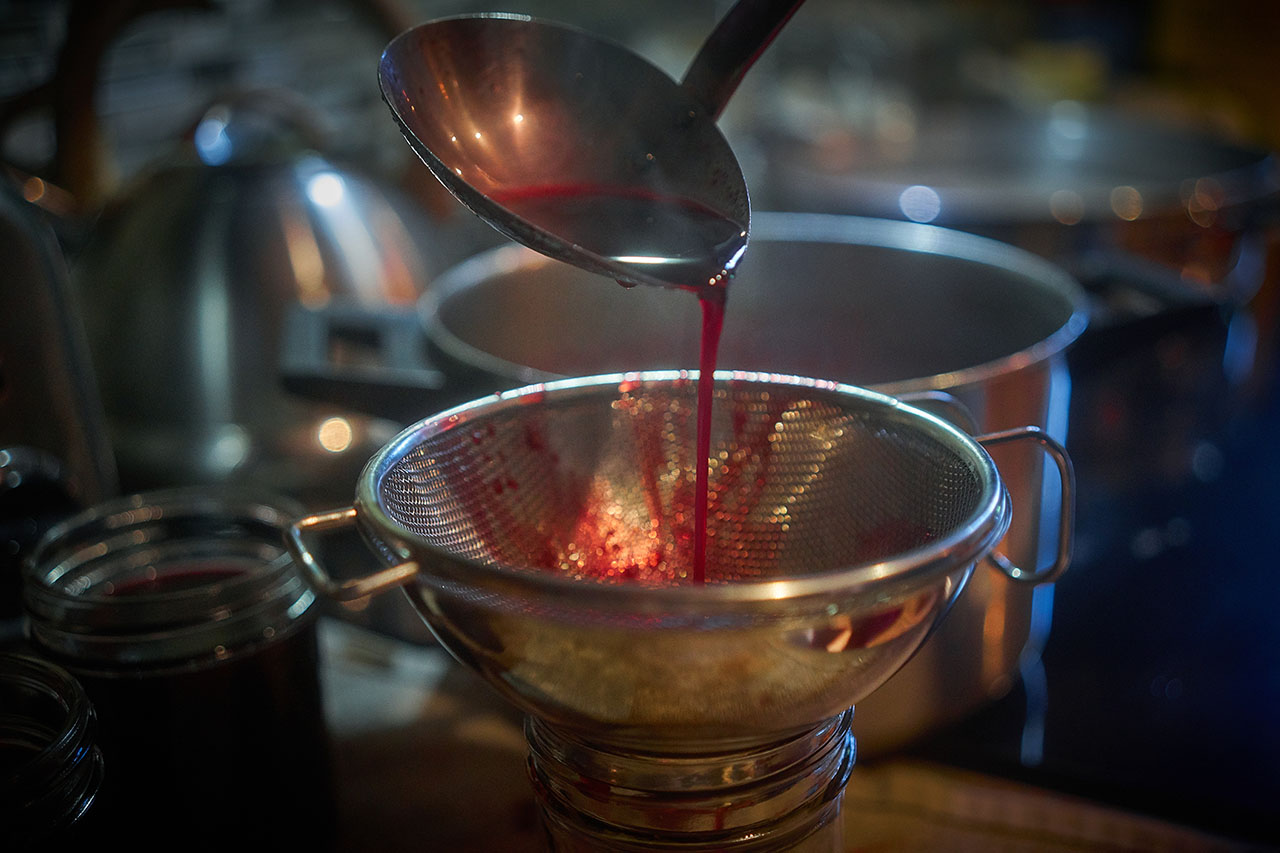
- Strain the mixture through a fine-mesh strainer or a food mill with small enough holes to catch the seeds. If you want to get as much juice as possible and don't mind a slightly cloudier jelly, use a food mill or gently press and stir the berries through the strainer. If you want a beautifully clear, transparent jelly, skip the food mill and don't press or stir the berries. Instead, let the juice drain naturally through the strainer. Once the juice has drained well, measure it. Don't throw away the leftover pulp just yet. It still contains plenty of flavor and color, making it perfect for adding to elderberry syrup, cordials, or other preparations.
- Sweeten the juice to taste. I usually use anywhere from half as much sugar as juice to an equal amount by volume. For example, if you have 1 cup of juice, add between ½ cup and 1 cup of sugar, depending on how sweet you'd like the finished jelly.
- Return the sweetened elderberry juice to the heat and stir in the lemon juice. Cook until the mixture reaches at least 200°F (100°C). At this stage the mixture should look glossy and slightly syrupy, although it will still seem fairly thin. Gradually reduce the heat to medium-low to prevent scorching. Stir regularly, and keep an eye out for overboiling.
- Remove the pot from the heat and let the jelly stop bubbling. Pour a small amount of the hot jelly into a glass or small heatproof container and stir in the powdered low- or no-sugar pectin until it is completely dissolved and the mixture is smooth and slightly thickened. Pour this mixture back into the pot through a small, fine-mesh metal strainer to catch any undissolved pectin. Return the jelly to a boil and boil for 1–2 minutes. Note: Every pectin is a little different, so start with 1 to 2 teaspoons per cup of liquid and add more only if needed. The jelly will continue to thicken to its final setting point as it cools, so err on the side of less.
- Pour the finished jelly through a small, fine-mesh metal strainer and into sterilized jars while it's still hot. This will catch any remaining bits of undissolved pectin. You can refrigerate it for immediate use, or process it in a boiling water bath canner if you'd like to store it on the shelf. I prefer using half-pint mason jars because this jelly is quite rich and a little goes a long way. If you decide to preserve it, follow a trusted water bath canning method and the processing time recommended for your canning jar size and altitude.
Note: If you'd rather skip the pectin, you can make an apple-based jelly instead, though I find apples tend to overpower more delicate berry flavors. If that's the route you want, I walk through it in my Pepper Jelly recipe.
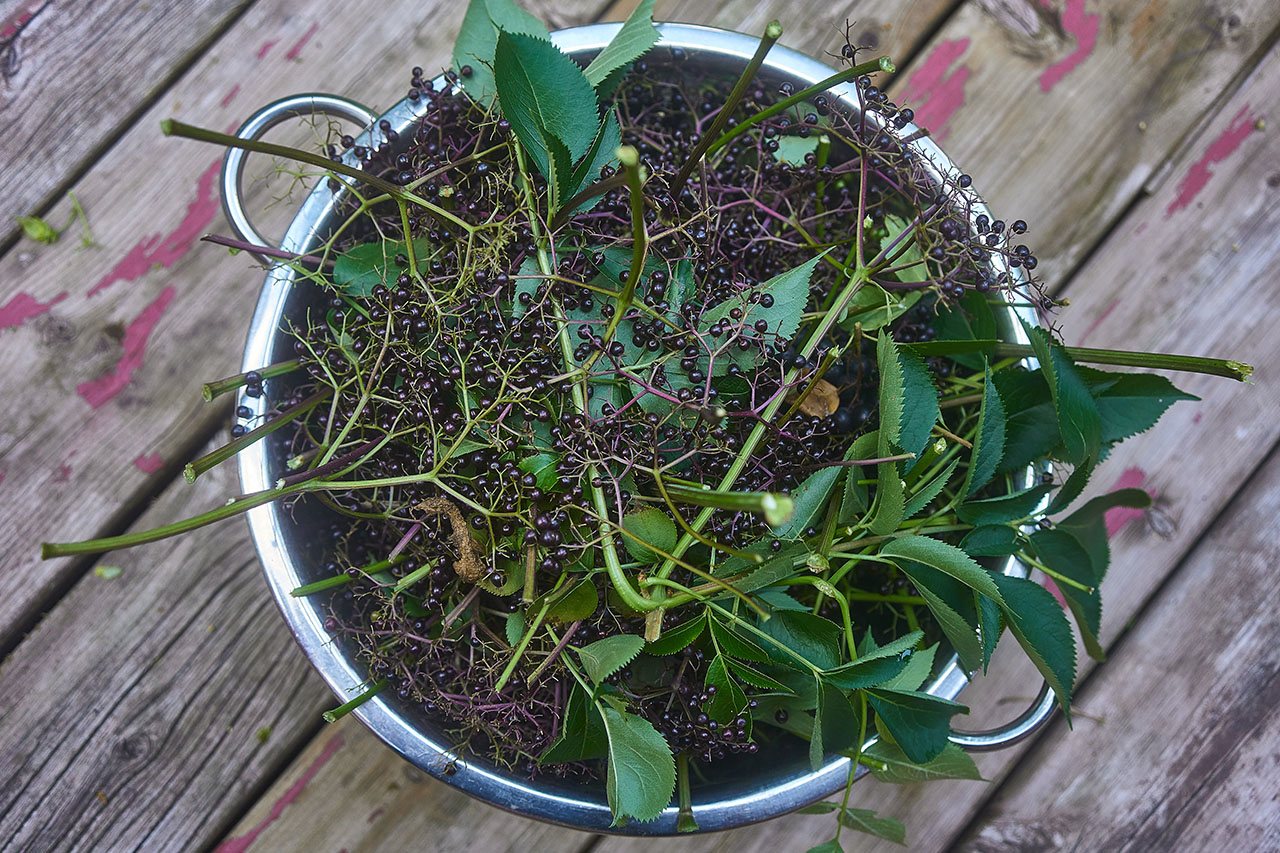
Elderberry (Sambucus spp.) Benefits
Elder trees are probably best known for supporting the immune system during cold and flu season. For many herbalists, elderberry syrup is one of the first remedies they reach for when the sniffles begin. But elderberries have much more to offer than seasonal support.
The berries’ deep purple color comes from anthocyanins, the same powerful antioxidant compounds found in blueberries, blackberries, and other richly colored fruits. These compounds help protect the body from oxidative stress and contribute to the vibrant colors that make berries so nutritious. Elderberries also provide vitamin C, fiber, and a variety of beneficial plant compounds that make them a nourishing addition to the diet.
While I certainly appreciate elderberries for their traditional role during the colder months, I also think of them simply as a delicious wild food. Whether they're stirred into syrup, baked into desserts, or transformed into this rich, jewel-like jelly, they're a wonderful way to enjoy one of nature's most generous harvests.
Interestingly, while modern herbalists often focus on the berries for immune support, not everyone has viewed them as the elder tree’s primary medicine. Herbalist Stephen Buhner, for example, considered elderberry flowers and properly prepared leaves as more significant medicine, seeing the berries primarily as a nourishing food.1 From that perspective, turning elderberries into jelly is exactly what they were meant for.
Want to know more about the medicinal benefits of elderberry?
HerbMentor members have access to our comprehensive Plant Monograph Library: over a hundred herbalist-written monographs for deep study and practice. Elderberry included! Check out HerbMentor and join here.
Destemming Elderberries
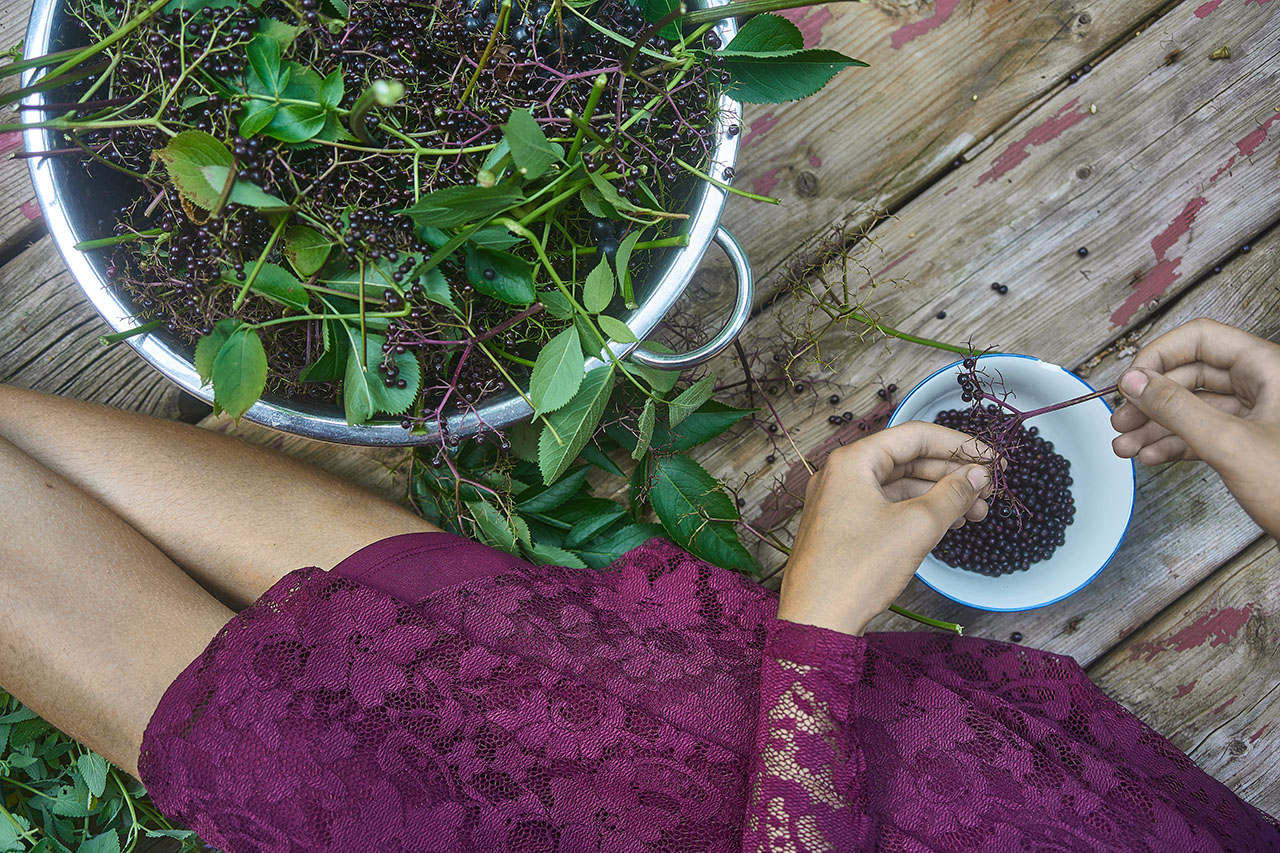
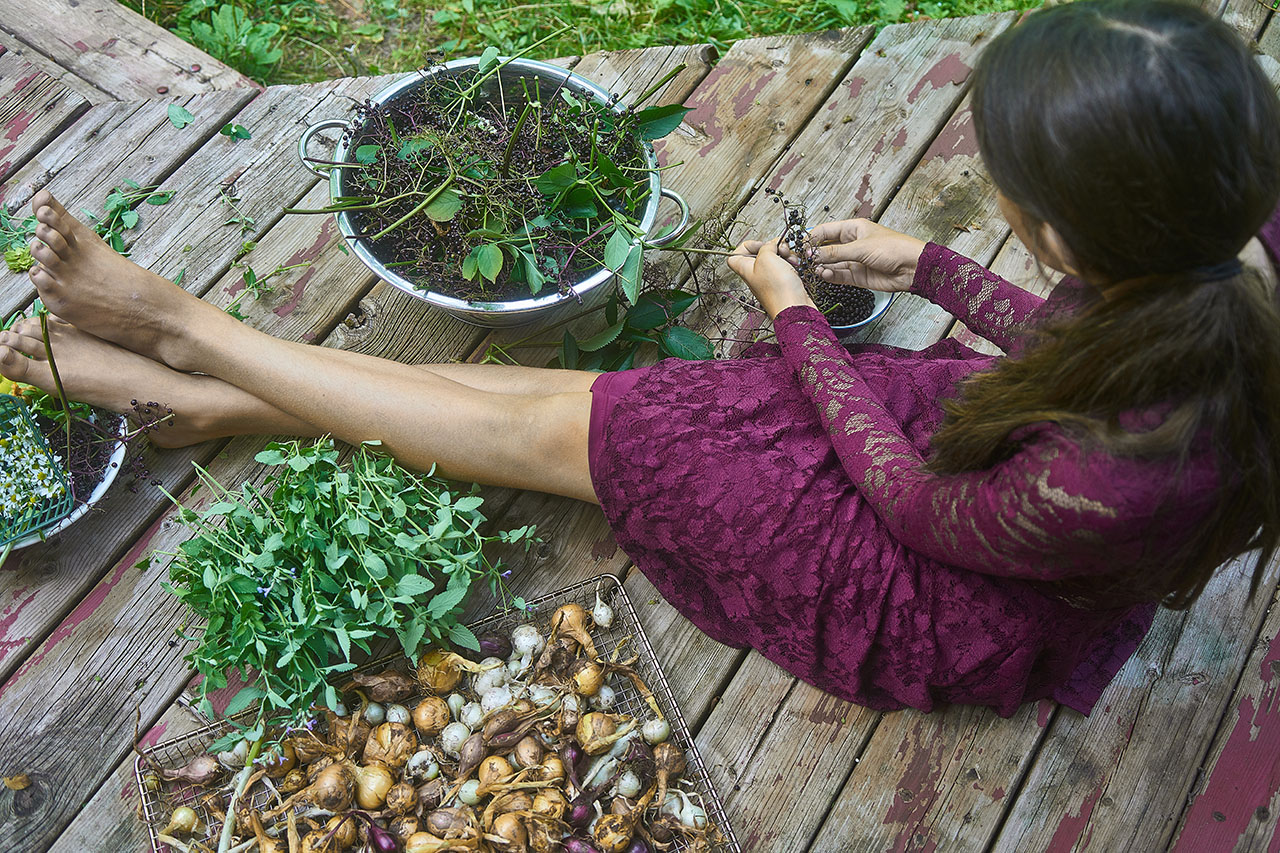
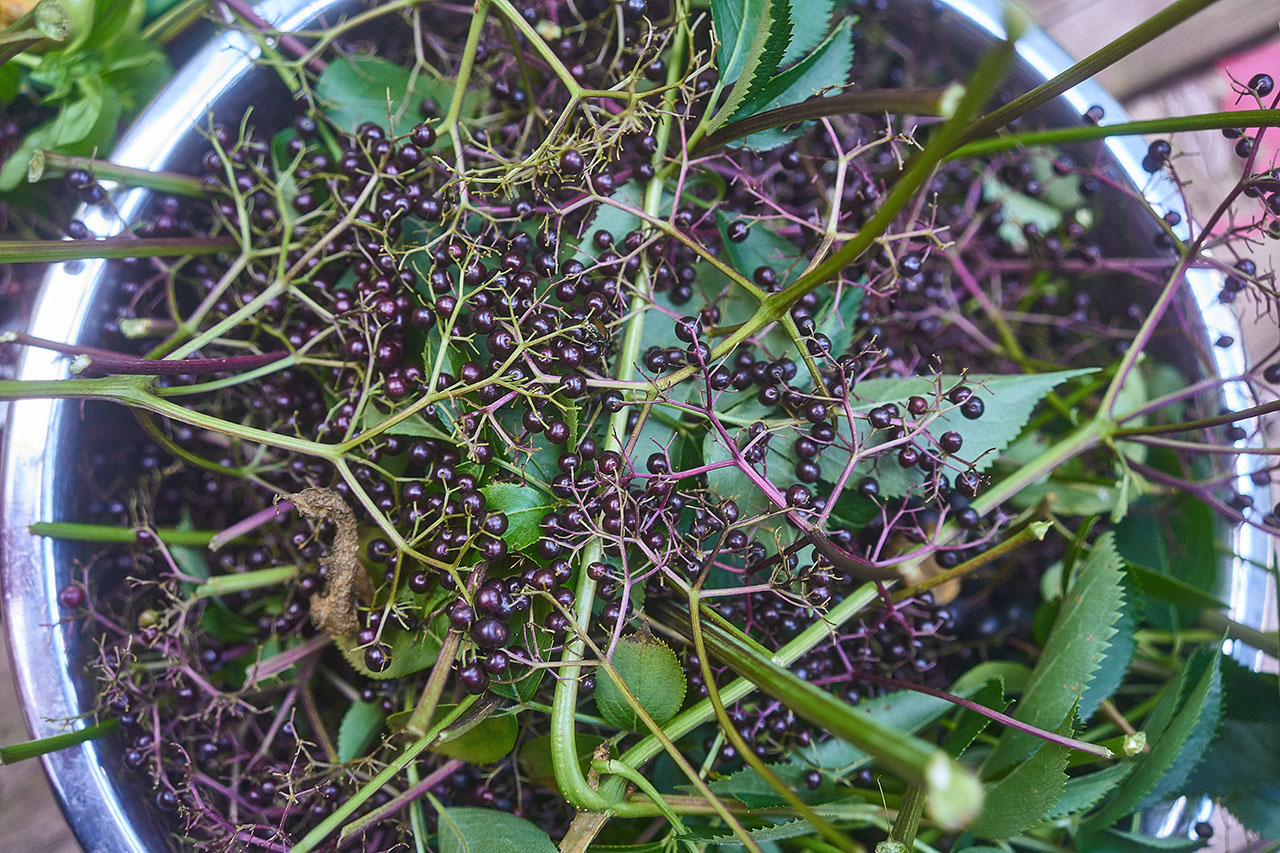
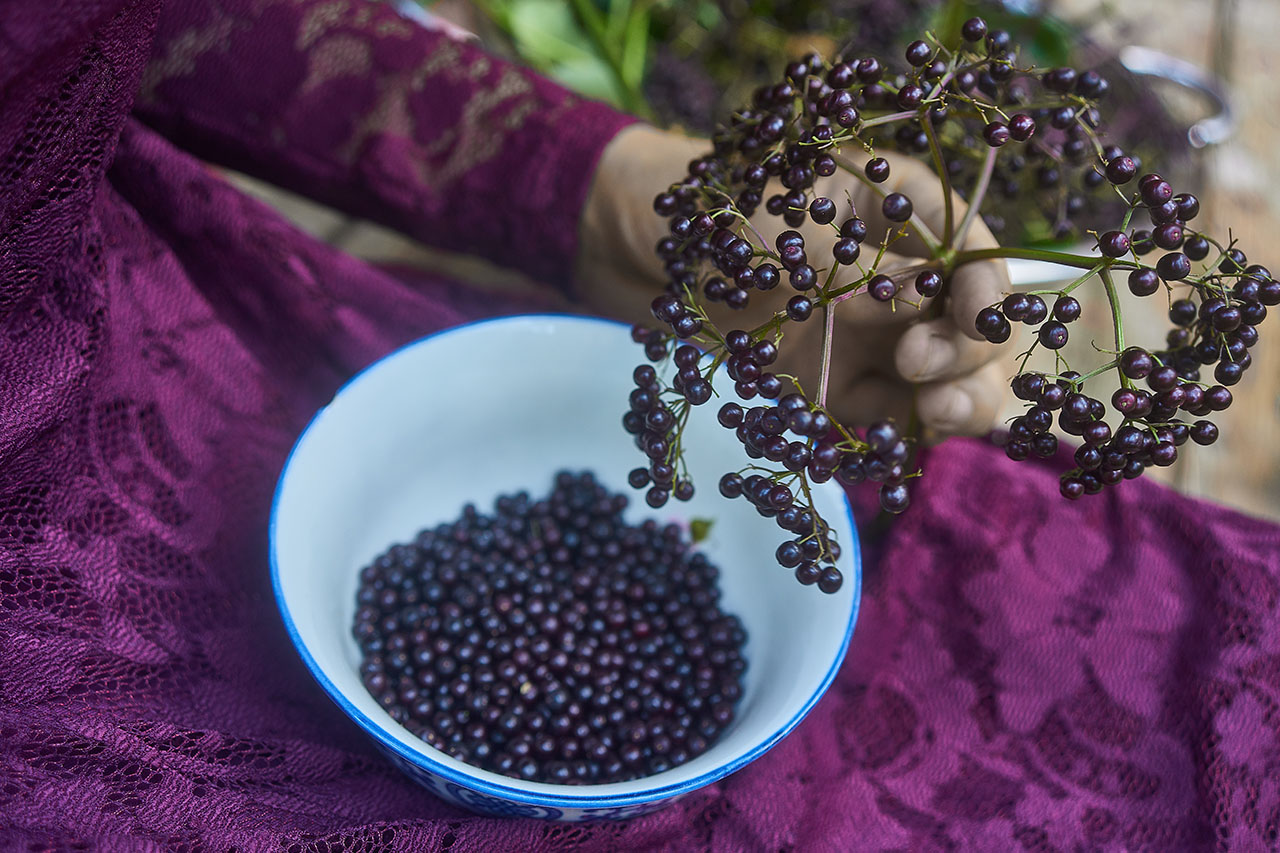
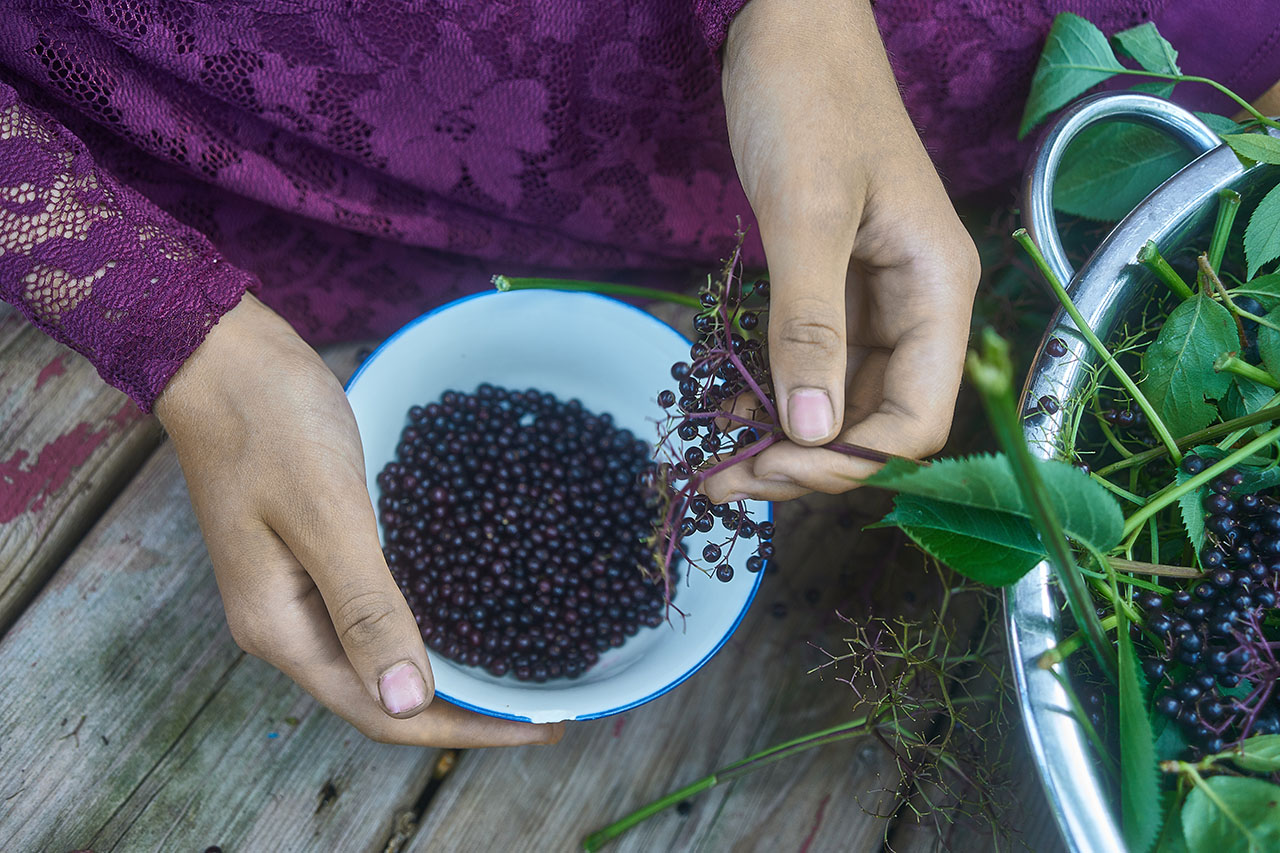
Before you can make the jelly, the berries need to be carefully separated from the stems. Elderberries are tiny, and when you're staring down a big basket of freshly harvested clusters, the task can feel a little intimidating at first.
I've seen different tricks for speeding up the process, like freezing the berries first or using a fork to strip them from the stems. Personally, though, I find separating elderberries by hand to be surprisingly meditative and therapeutic. After a busy day of work around the house and garden, I'll sit somewhere comfortable, put on an audiobook or podcast, or just chat with my family, and pick the berries off one by one.
It may look like it'll take forever, but it always gets done eventually, I promise! The fresher the berries are, the easier they are to separate. Once destemmed, I like to use the berries as soon as possible. If I can't make the jelly right away, or I'm waiting for more berries to ripen so I have enough for a batch, I freeze the destemmed elderberries to preserve their freshness until I'm ready to use them.
I also think this is a wonderful task for little fingers. Kids can tell stories, listen to audiobooks, or chat away while separating the berries. It's simple, repetitive work that can be surprisingly calming, and many hands definitely make the job go faster.
Keeping the Goodness
While elderberry jelly isn't quite the same as fresh berries or elderberry syrup, it's still a nourishing way to enjoy the harvest.
Like most cooked fruit preserves, some nutrients are reduced during cooking (vitamin C is heat-sensitive, and most of the fiber stays in the strained pulp), but many of the anthocyanins and other plant compounds that make elderberries worth eating in the first place do survive.
Rather than thinking of elderberry jelly as a medicinal preparation, I like to think of it as a flavorful whole-food preserve. It still captures many of the berries' natural plant compounds while preserving one of the best reasons to gather elderberries in the first place: their wonderfully rich, unmistakable flavor.
Here are a few frequently asked questions about elderberry jelly…
What other fruits and berries can I use for this recipe?
This recipe is a wonderful starting point for experimenting with all kinds of edible plants. Besides elderberries, try chokecherries (Prunus virginiana), black cherries (Prunus serotina), mulberries, red currants, sea buckthorn berries, blackberries, blueberries, aronia berries, blackcurrant jelly, or even blends of several fruits. Keep in mind that every fruit has a different balance of sweetness, acidity, and natural pectin, so you may need to adjust the sugar, lemon juice, or pectin to achieve the flavor and consistency you like best.
But don't stop at fruits! The same general method can be used to transform many aromatic flowers, leaves, and spring shoots into beautiful herbal jellies. Try fragrant rose petals, fireweed petals, mint leaves, lemon balm, spruce tips, lilac blossoms, bee balm flowers, lavender flowers, or other edible herbs from your garden. Once you start experimenting with jelly making, you'll discover that almost every season has something delicious to preserve in a jar.
Why does this recipe use pectin?
Unlike apples, quince, or currants, elderberries are naturally low in pectin. Adding pectin gives the jelly a more dependable setting point while allowing you to use less sugar than traditional jelly recipes. Different brands of pectin behave a little differently, so don't be afraid to experiment until you find the texture you enjoy most.
Why add lemon juice?
Lemon juice brightens the rich flavor of elderberries and adds the acidity needed for pectin to form a good gel. It helps create a firmer, more reliable jelly while balancing the sweetness.
Can I use frozen elderberries?
Absolutely! Frozen elderberries work just as well as fresh ones and are a wonderful way to enjoy homemade jelly long after the harvest season has passed. Simply thaw the berries before cooking, or add them directly to the pot and allow a little extra time for them to heat through.
Can I make this jelly with dried elderberries?
Yes! Dried elderberries work well in this recipe. Use about 1⅓ cups dried elderberries in place of 4 cups fresh elderberries. There's no need to soak or rehydrate them first. Simply place the dried berries in the pot, cover them with water, and simmer for 30–45 minutes, or until they're plump and very soft. Strain the elderberry juice, measure it, and continue with the recipe exactly as written. Since the recipe is based on the amount of juice rather than the starting amount of fruit, it works just as well with dried elderberries.
What can I do with the leftover elderberry pulp?
Don't let it go to waste! The pulp still contains plenty of flavor and color. Simply cover it with brandy as is, or combine it with other berries (I sometimes add mine to this Hawthorn Cordial recipe) and let it infuse for 2–3 weeks. Strain, sweeten to taste if desired, and enjoy a rich, flavorful cordial. It's a delicious way to make the most of your harvest.
Foraging tips for harvesting elderberries?
Always properly identify your berries with a trusted guide or book. Harvest from a clean, unpolluted area, and away from roads with heavy traffic. Most ethical foragers recommend that you only harvest between one-tenth to one-third of any particular patch of what you see. Check out our Guide to Ethical Foraging for more tips!
What else can I do with elderberries?
Elderberry jelly is just the beginning! With your prepared juice, you can make elderberry jam, elderberry oxymel, elderberry mead, or our favorite elderberry syrup recipe. If you are working with the flowers, elderflower syrup is a delightful floral addition to beverages and baked goods.

Footnotes
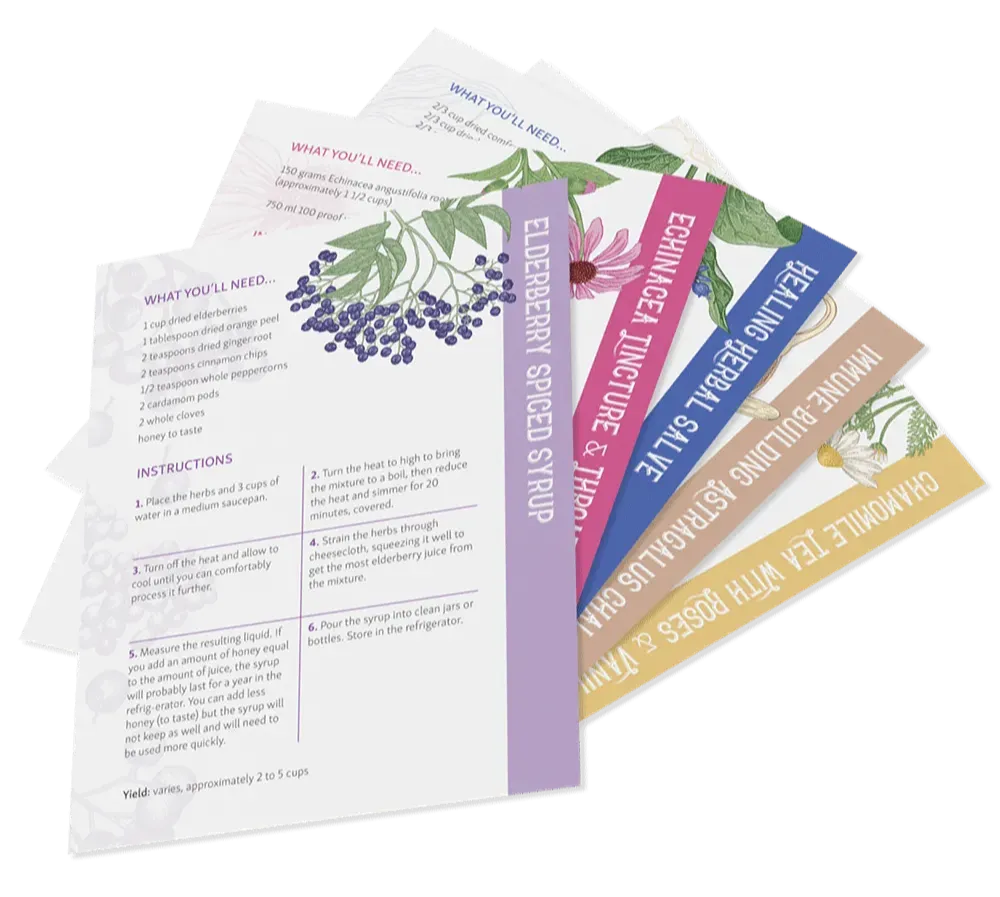
The Herbal Remedy Vault has all of our printable recipe cards...